
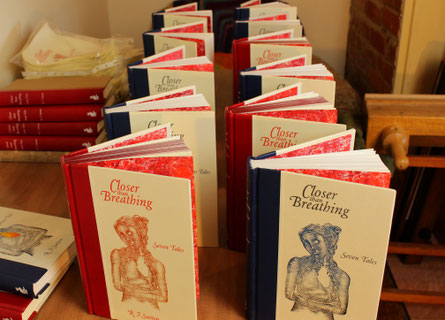
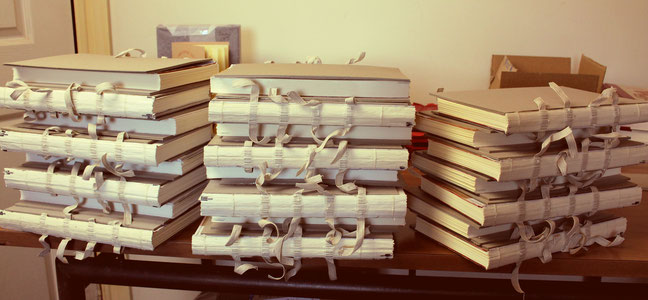
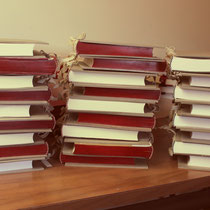
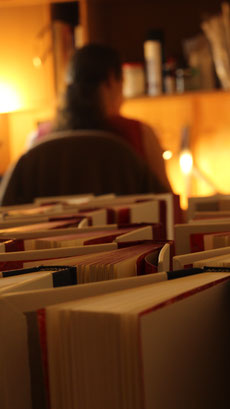
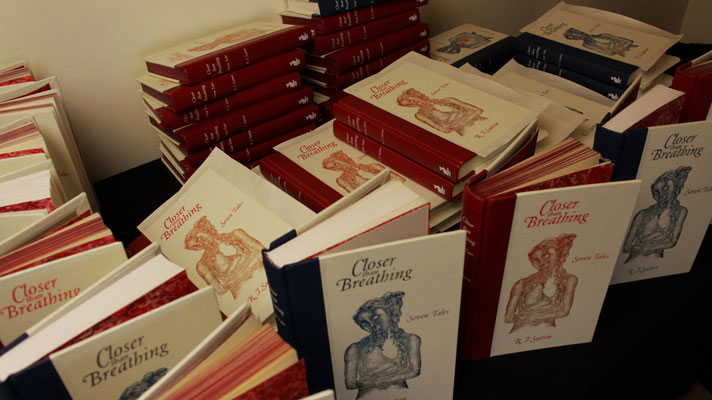
The countdown to The Harebrained Press’ inaugural launch has begun, and I’ve got a lot of books to bind! 23, to be exact, which will cover the last of my pre-orders (so far) and leave some over for those who’d like to purchase a book at the launch. I thought I’d set myself the challenge of binding these within a month—and take you along for the ride.
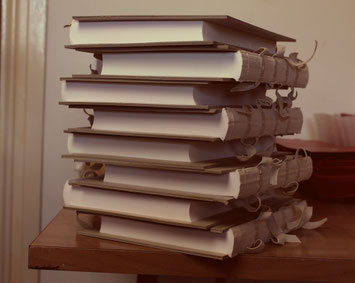
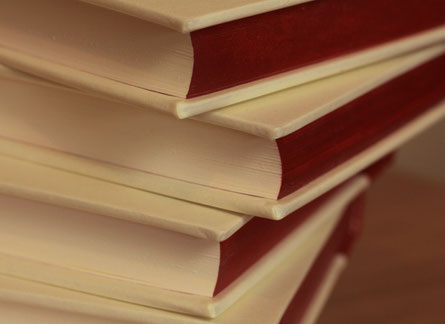
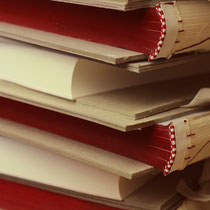
This is quite a challenge; the last batch of books I bound (pictured left) numbered 13, and took me a little over a month. I'm hoping a deadline will inspire me to work a bit faster...wish me luck!
Days 1-3: Sewing 23 Text Blocks
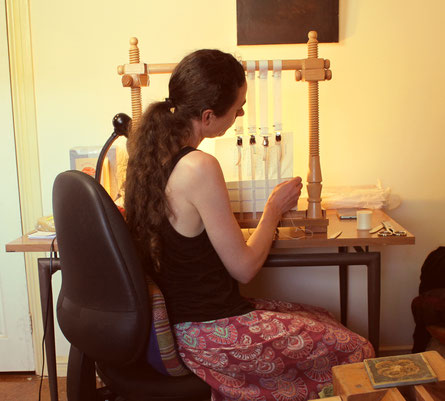
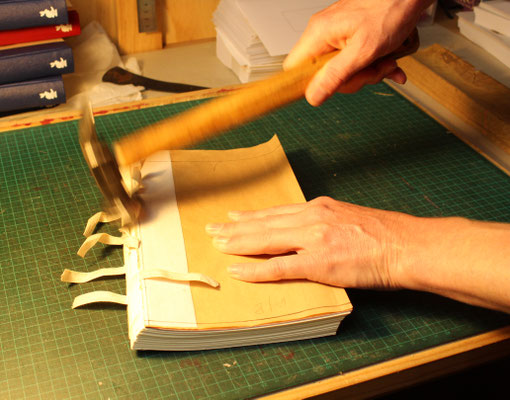
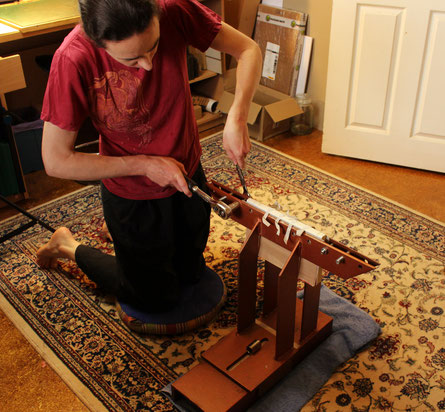
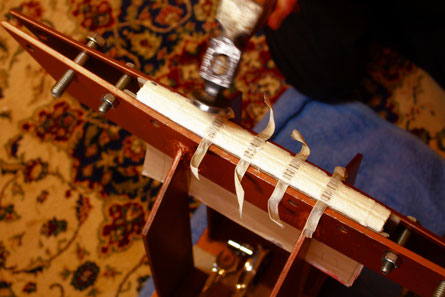
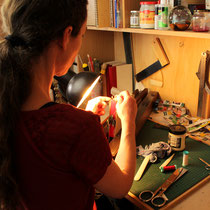
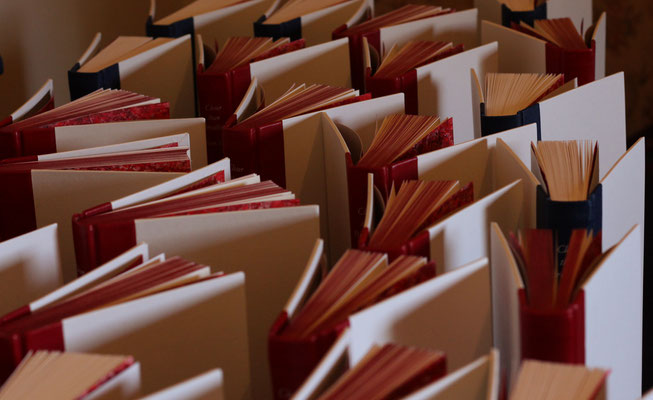
Here’s some images of days 1-3. I’ve spent about 30 hours sewing my printed and folded pages together into text blocks. I use pure unbleached linen tapes and thread—linen is known for its strength and longevity. The pages themselves are Italian cotton paper. The sewing frame was fashioned for me by Frank Wiesner, who trained as a cabinet maker within the traditional guild system in Germany.
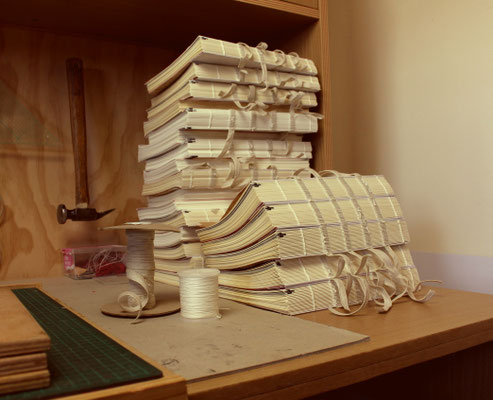
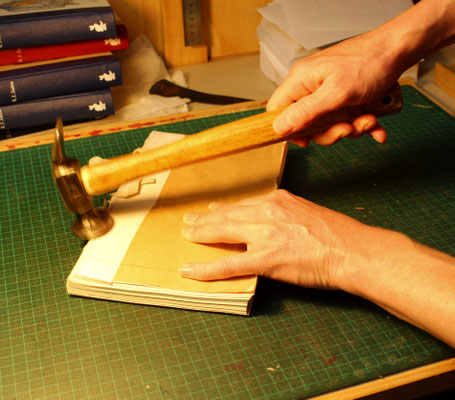
After each text block is created, I use a cobbler’s hammer to ‘knock out the swell’ by gently pounding the threaded area. This helps to embed the thread in the paper and solidify the page folds so that they can be later shaped into spines. You can see the difference between the text blocks that have had the swell knocked out of them—and those that haven’t—in the image. The ones at the front haven’t.
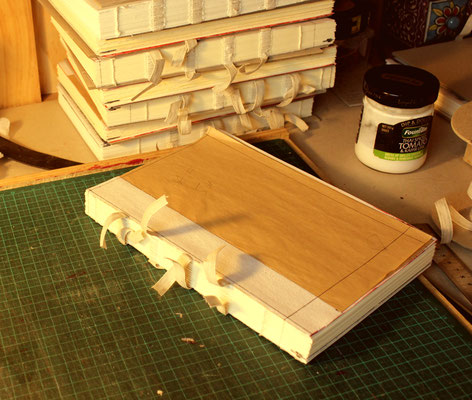
Day 4: Gluing Spines and Marking up Text Blocks For Trimming.
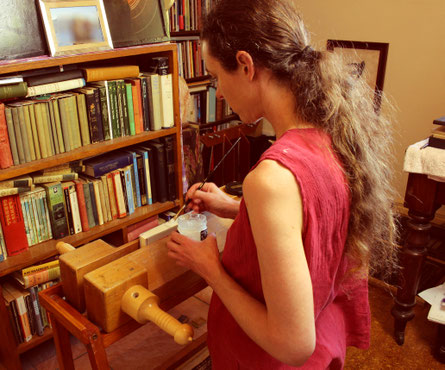
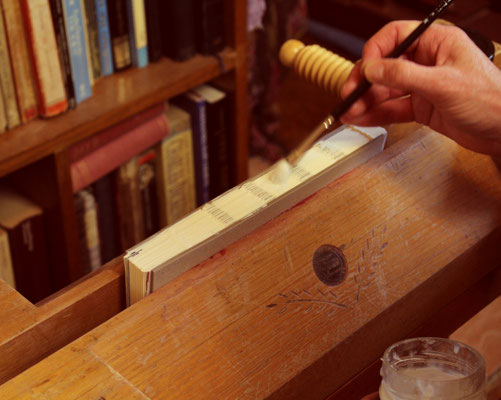
After I’ve hammered down the swell, the folds in the page sections need to be glued together to form a flat, unified plane. This is so that it can later be formed into that lovely convex shape you see in some of your older book spines. The heat on this day was great for drying glue, but not for hair stylishness, as you can see from my photo!
In the second image you’ll see that I’ve marked lines for trimming. Ruling and marking 23 text blocks is no easy thing for me; I’m not strong on seeing whether or not something’s square. I’ve never been so excited to own a set square. There’s nothing worse than a wonky book.
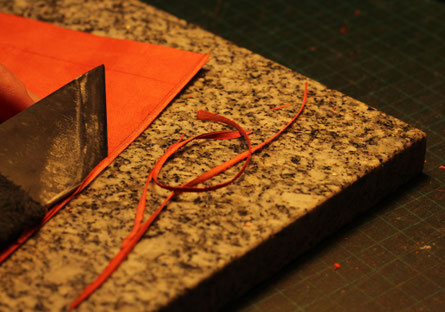
Days 5 & 6: Ploughing Foredges

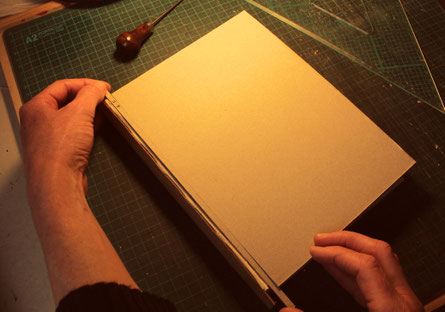
Now it’s time to trim the long edge off these text blocks.
After spending years over the printing press, I decided that I wouldn’t trust anyone to cut my pages down to size except myself. Guillotining is quick—but it can also be an easy way to ruin books. I decided to use a book plough instead.
The plough was invented in the 16th Century and revolutionised page-cutting. Before then, binders had used a sawing blade to cut down their books—a difficult process with a messy finish. The plough makes the cut smooth, straight and polished. But, like everything done by hand, it takes time. Cotton paper is hard on the blade, so I need to sharpen it often. My partner, Kain, has a special name for my ploughing rig: he calls it my ‘barbed wire canoe’. After a day of ploughing it starts to feel that way!
Even so, this plough is my favourite piece of kit in the studio. It oozes history, and it works beautifully. In the 1860s tools were made to last.
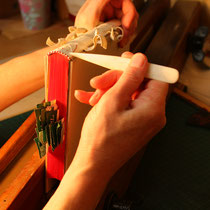
Day 7: Rounding
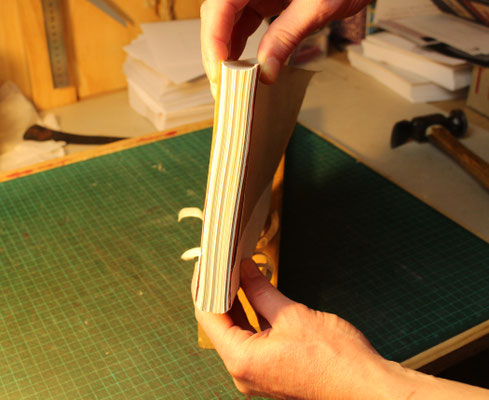
Ever wondered how your lovely old books got that convex shape to the spine that makes the title gleam from the shelf? This shape is created by hammer and hand to form approximately one third of a circle. It’s called ‘rounding’. A book that’s been rounded, then had the shape set (backed) will last longer than a flat-backed book.
Here are some images of me rounding a book ready for backing. I pull the spine into the rounded shape using the hammer and a pulling motion. This is easier with damp fingers.
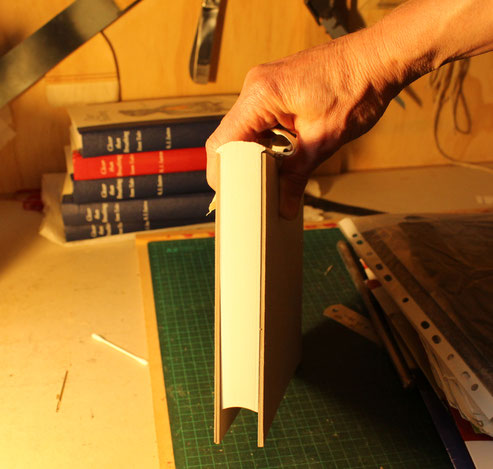
Days 8 & 9: Backing
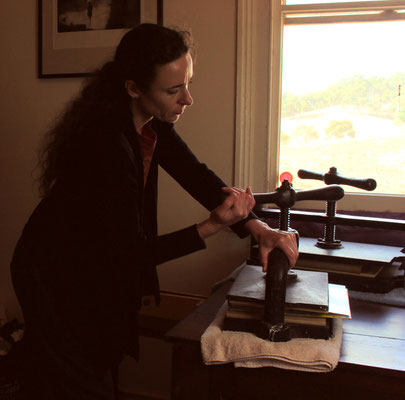
Now it’s time to mould the sections of paper at the spine by backing the book. This will ‘set’ the convex shape and create a shoulder for the cover boards to butt up against.
This photo shows me locking a book into the press. The press puts consistent pressure just under the spine, at the point where the cover boards will need to rest. I can then gently hammer each paper section in a downward motion so that it rests on the one beside it, with the outermost forming a right angle at the top of the press.
Below you can see the mushroom-head shape of the backed book and how the outermost sections create the shoulders that the boards rest against.
Special thanks go to Adrian Holland for giving me this excellent backing press, which he made himself out of scrap metal.
Days 10, 11 & 12: Trimming Heads & Tails
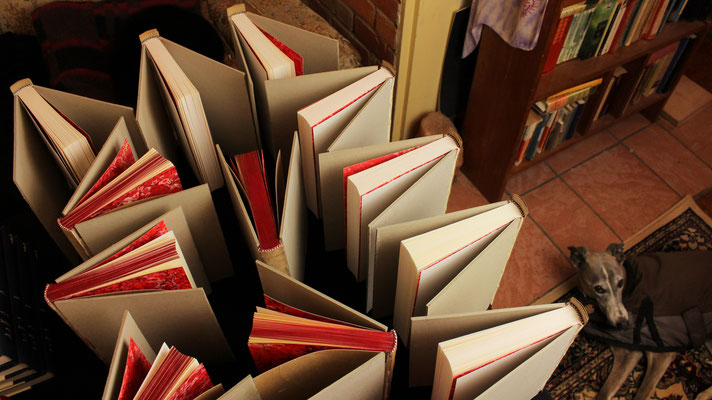
Trimming 23 books down to size with the plough after they’ve been backed is a slow, gruelling process. It involves frequent trips from the lying press where the ploughing is done to the sharpening table and back again. I like to strop my blade in between cuts to be sure it’s sharp. There’s nothing worse than getting a book to this stage then ruining it with a tear from a blunt blade.
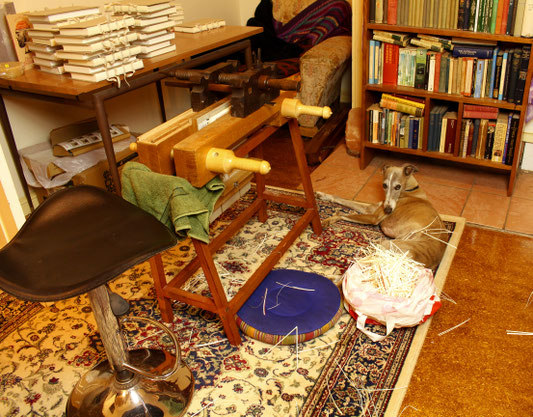
Here’s a photo of the bindery after 3 days of ploughing. My whippet, Jed, isn’t impressed that he hasn’t been getting much attention!
I think of the freshly-ploughed text blocks as newborn books. Like babies, they’re naked, vulnerable, and need to be handled gently.
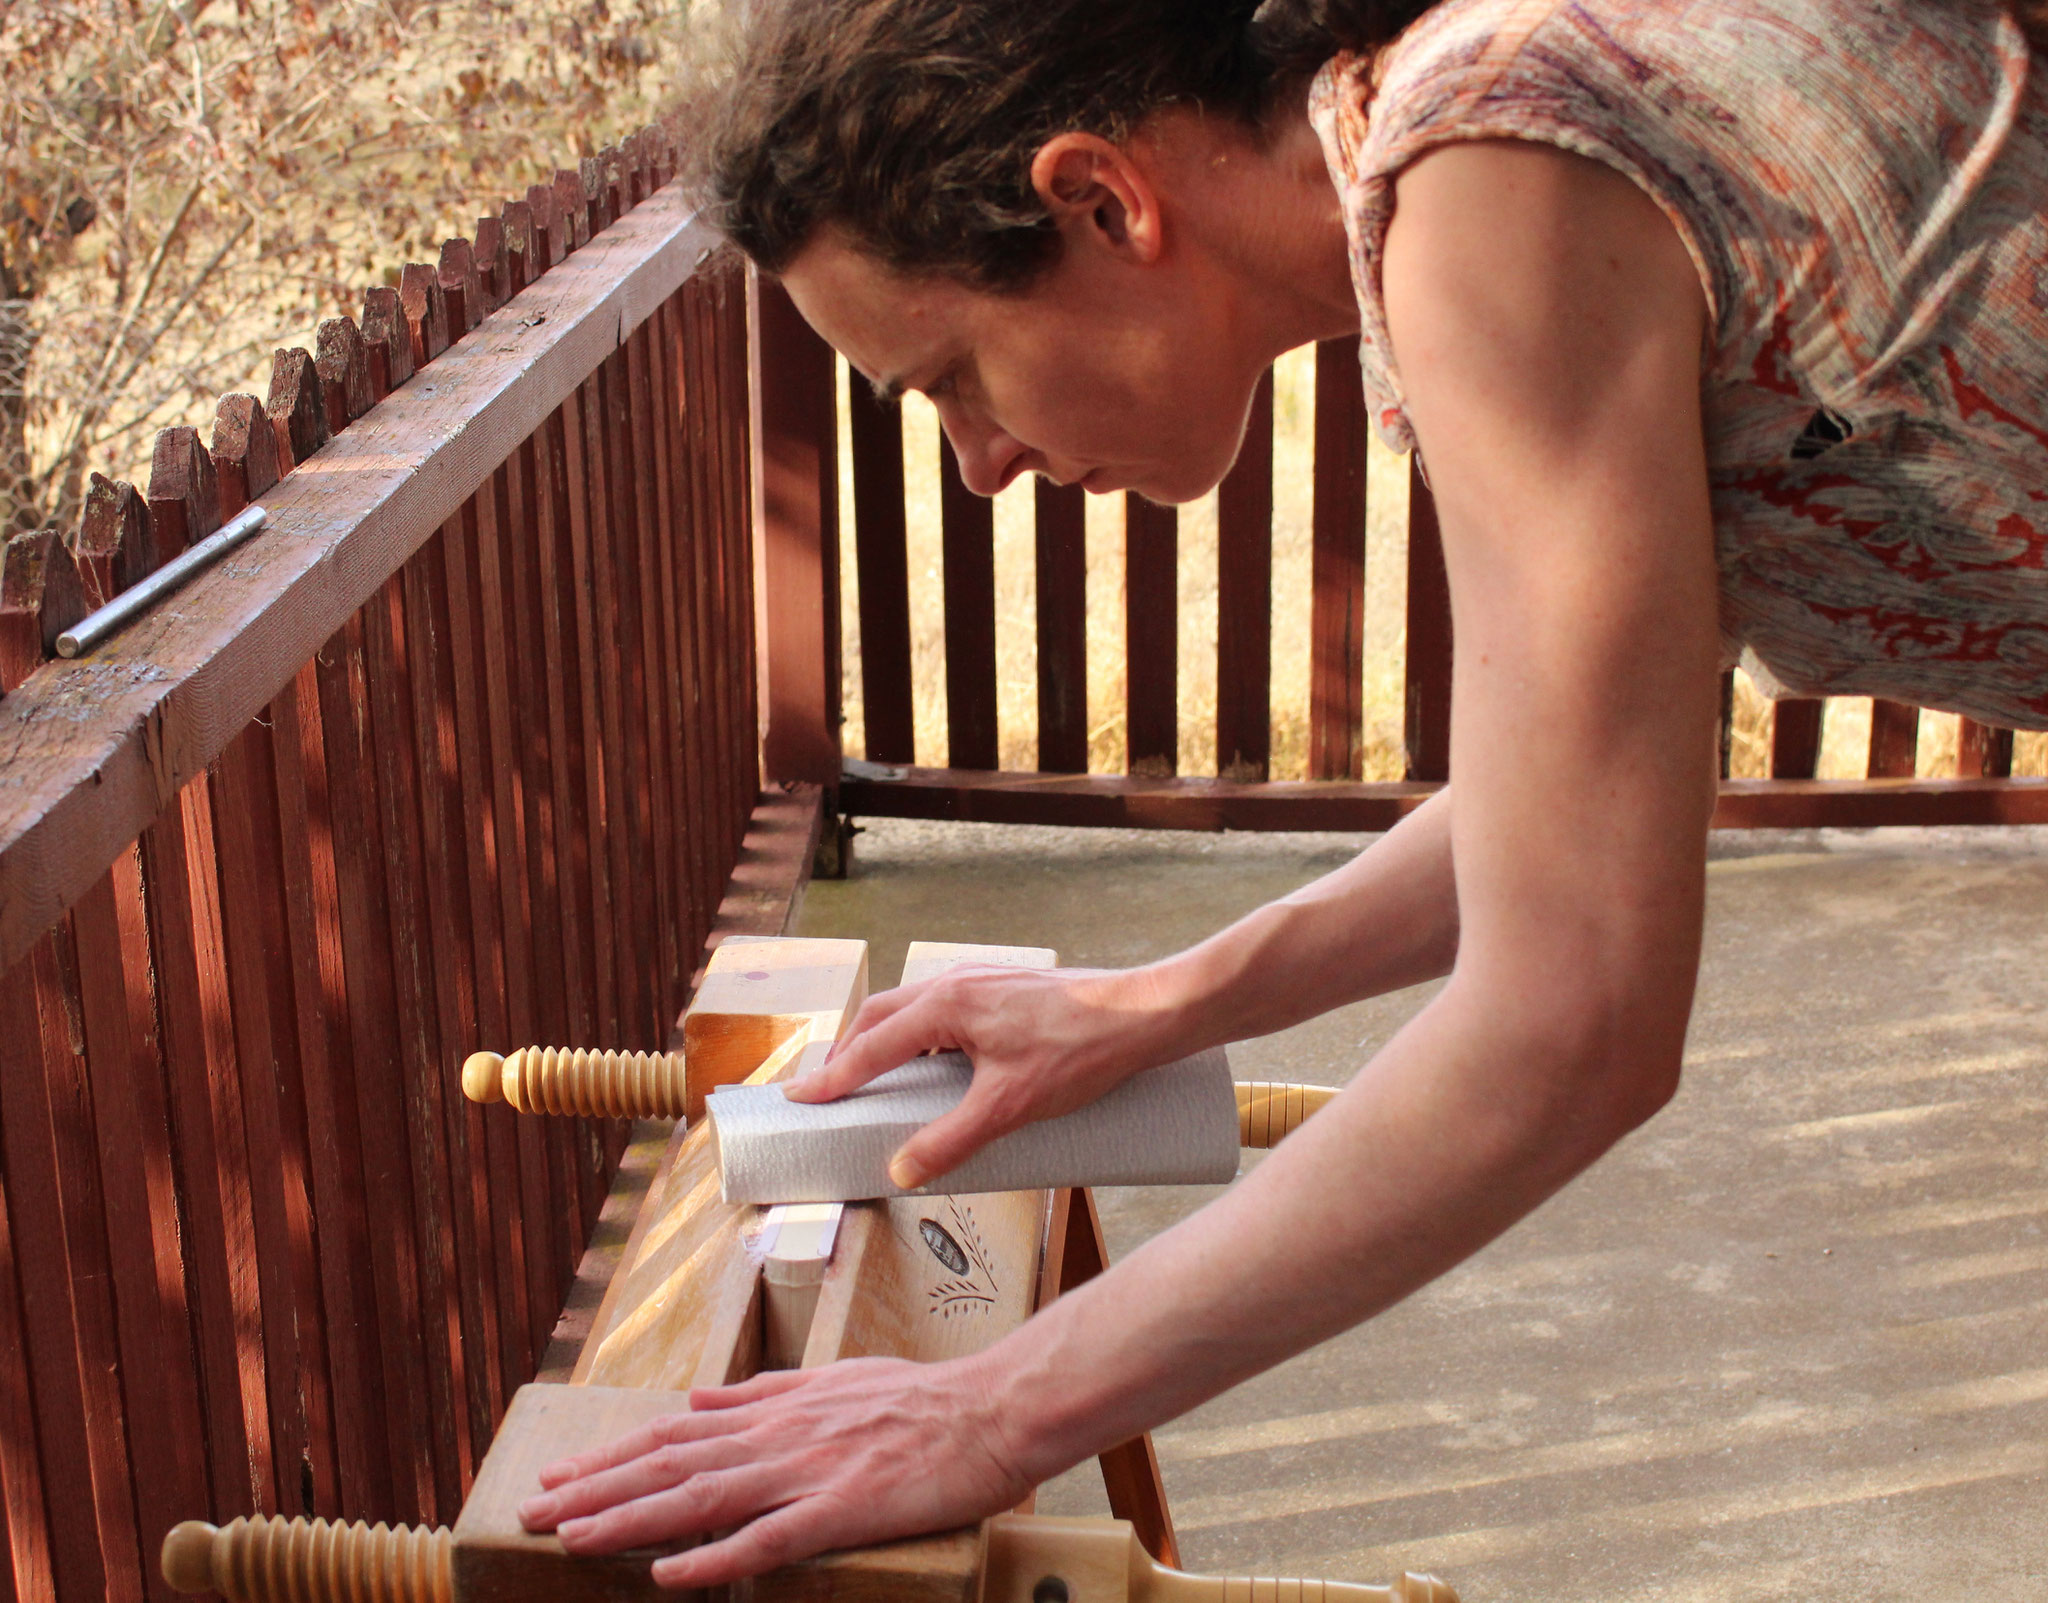
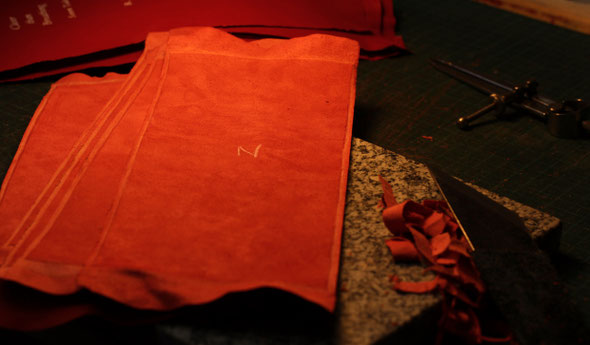
Days 13 & 14: Sanding Books & Colouring Heads
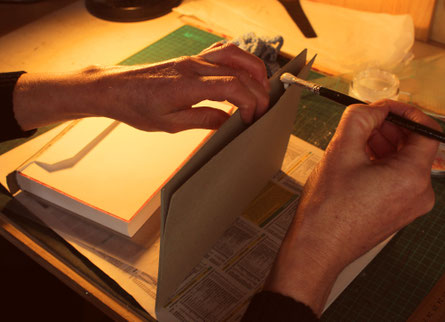
One of the things I love about books with rounded spines is the concave shape created by the closed pages. To get this area super smooth, the bookbinder employs some sophisticated tools: an old broom handle, sandpaper, and lots of elbow grease!
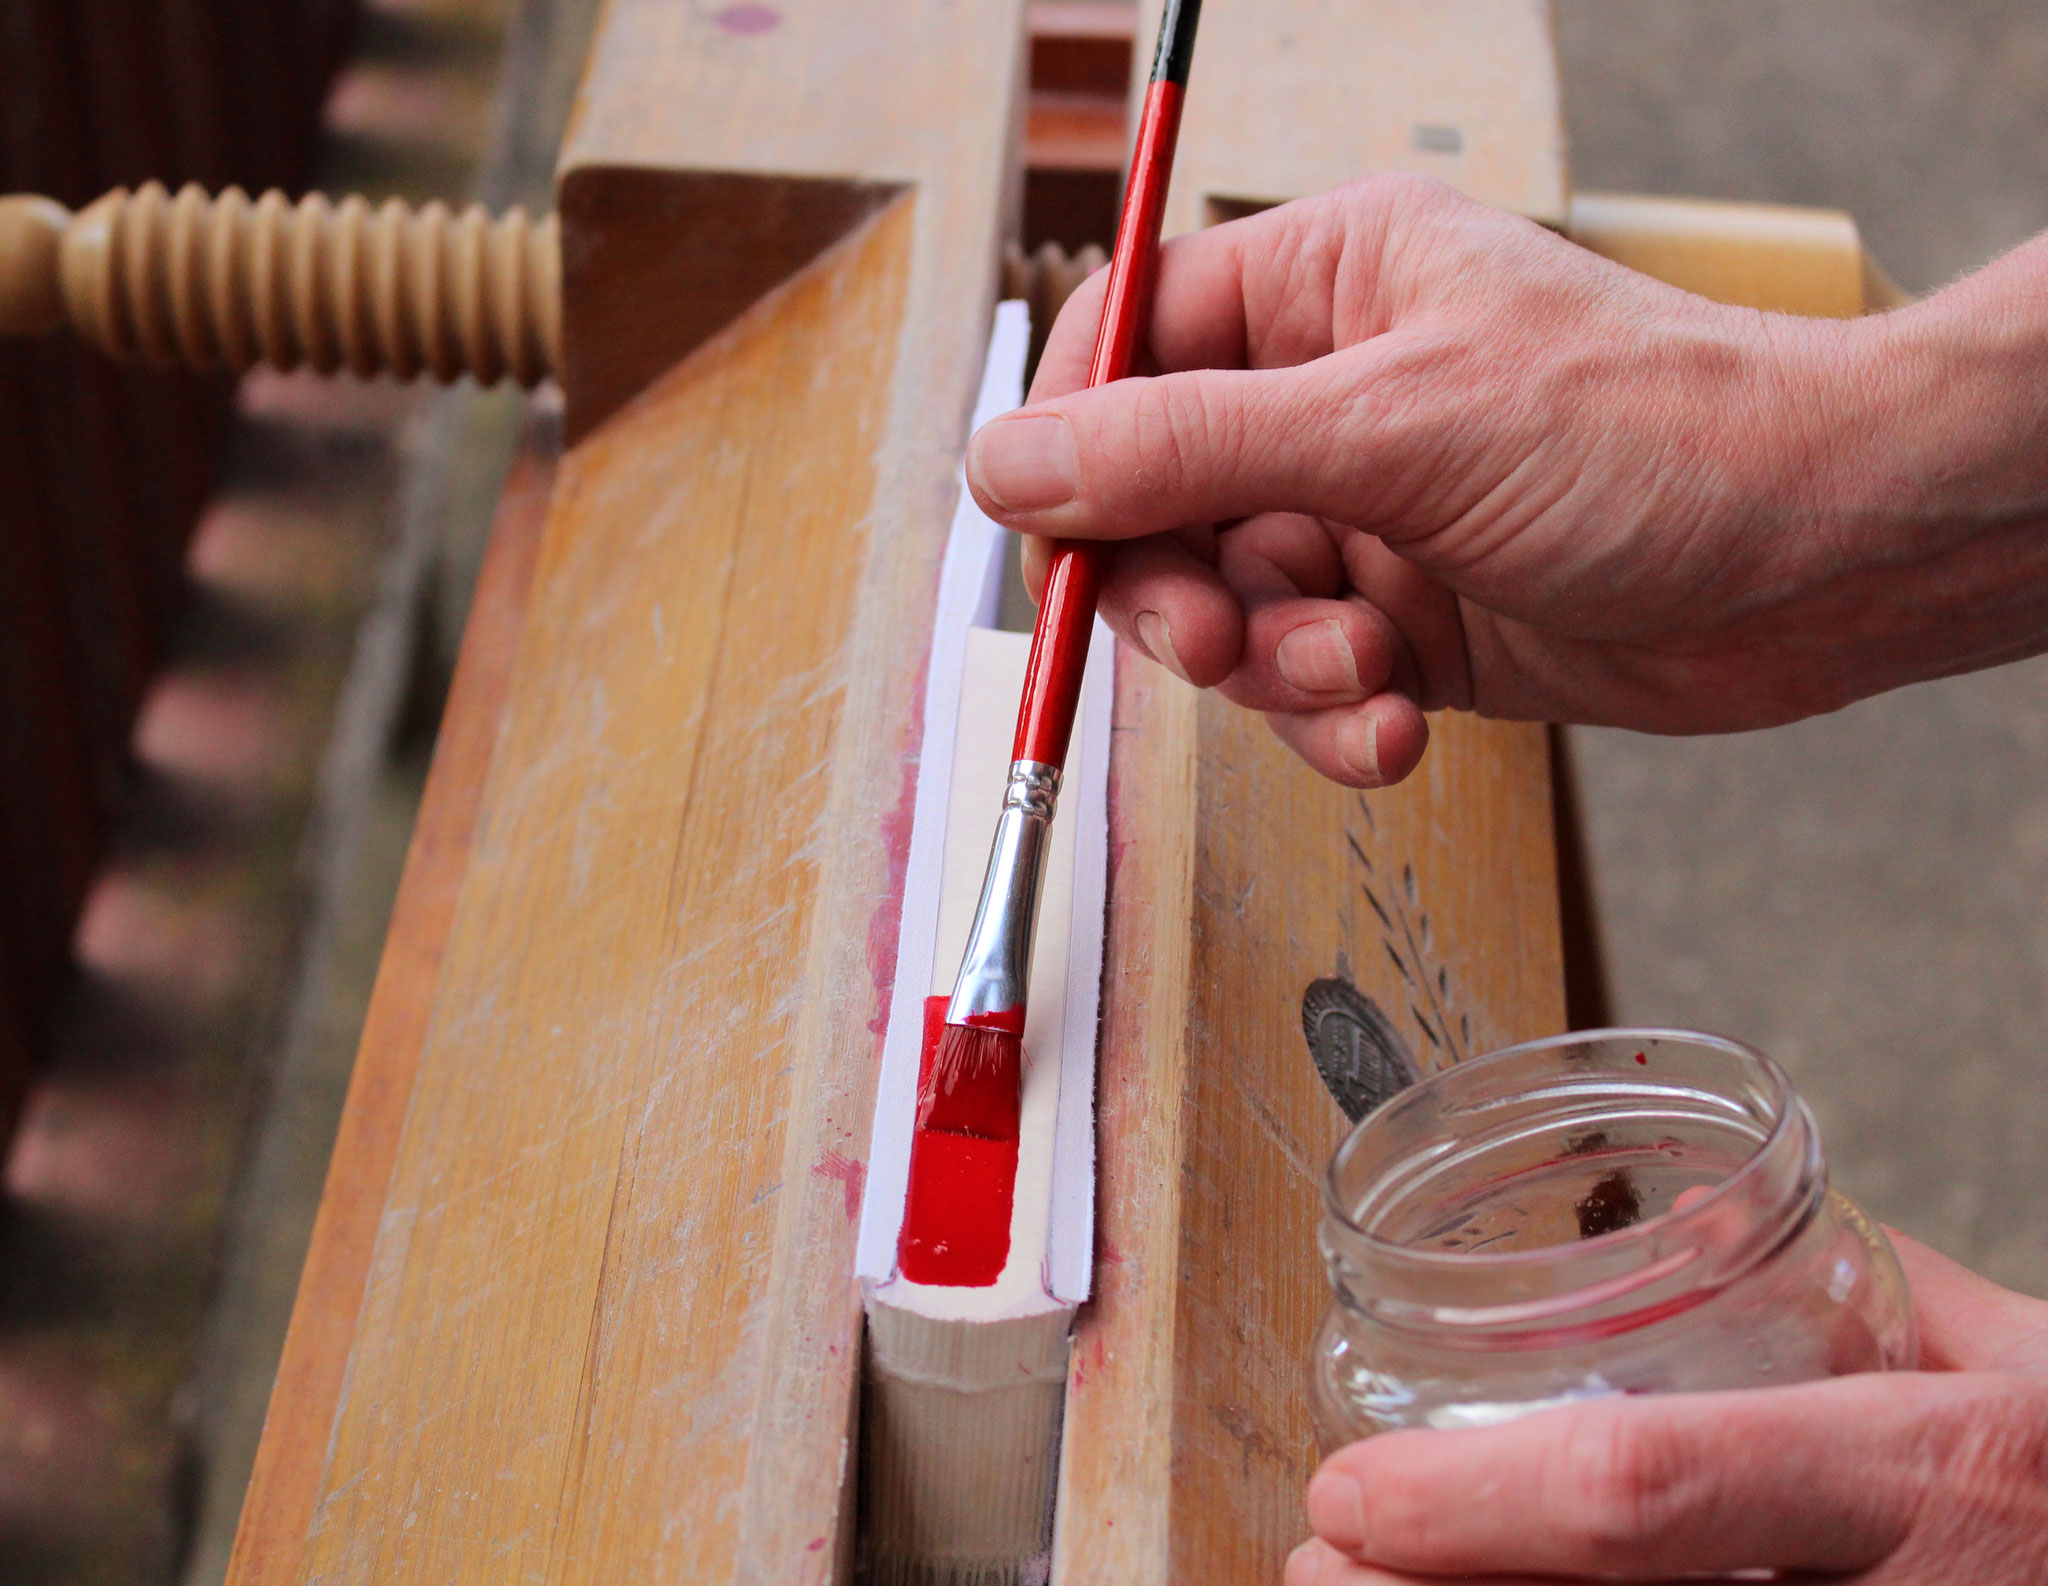
I also need to sand the tops (heads) of my red books to a smooth finish before I apply their ink colouring. Aside from making them look pretty, the coloured head protects the text from dirt, dust and moisture. Each book requires five coats, and a layer or two of wax.
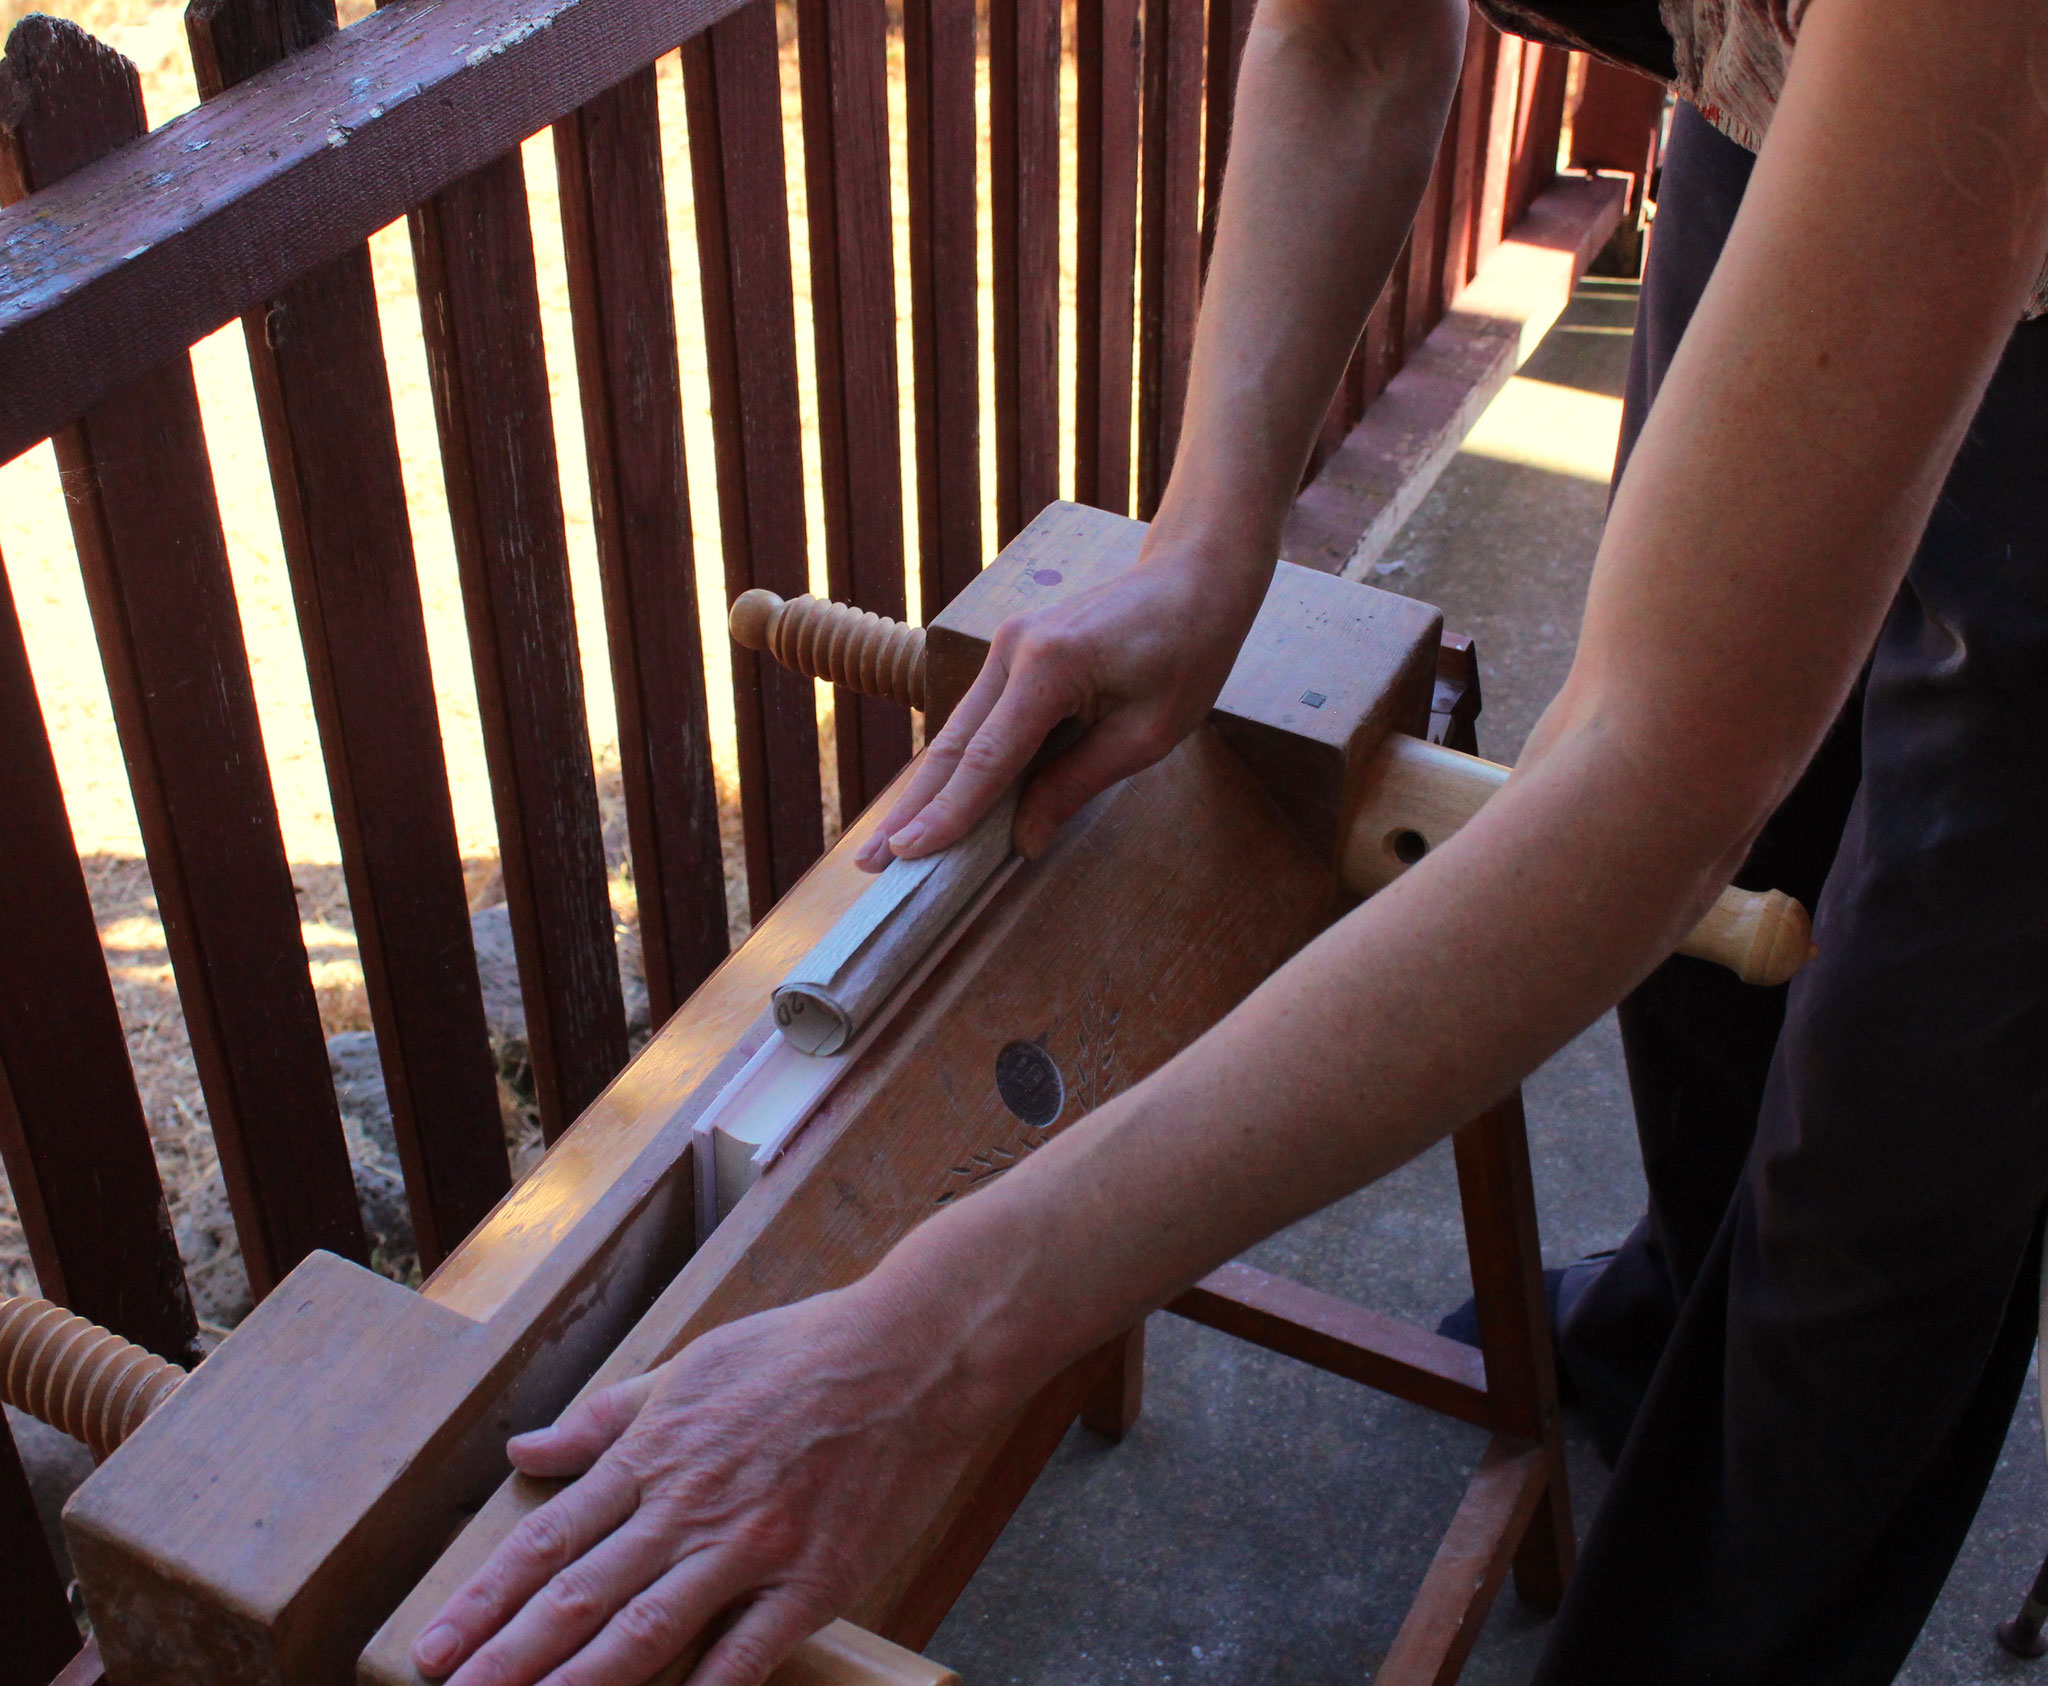


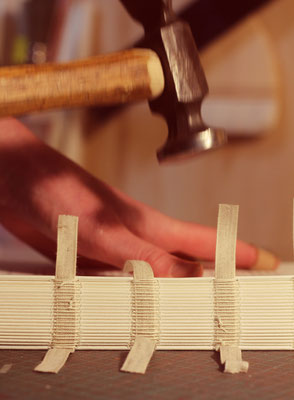
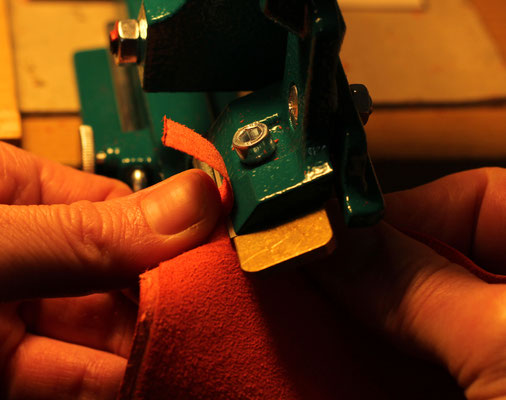
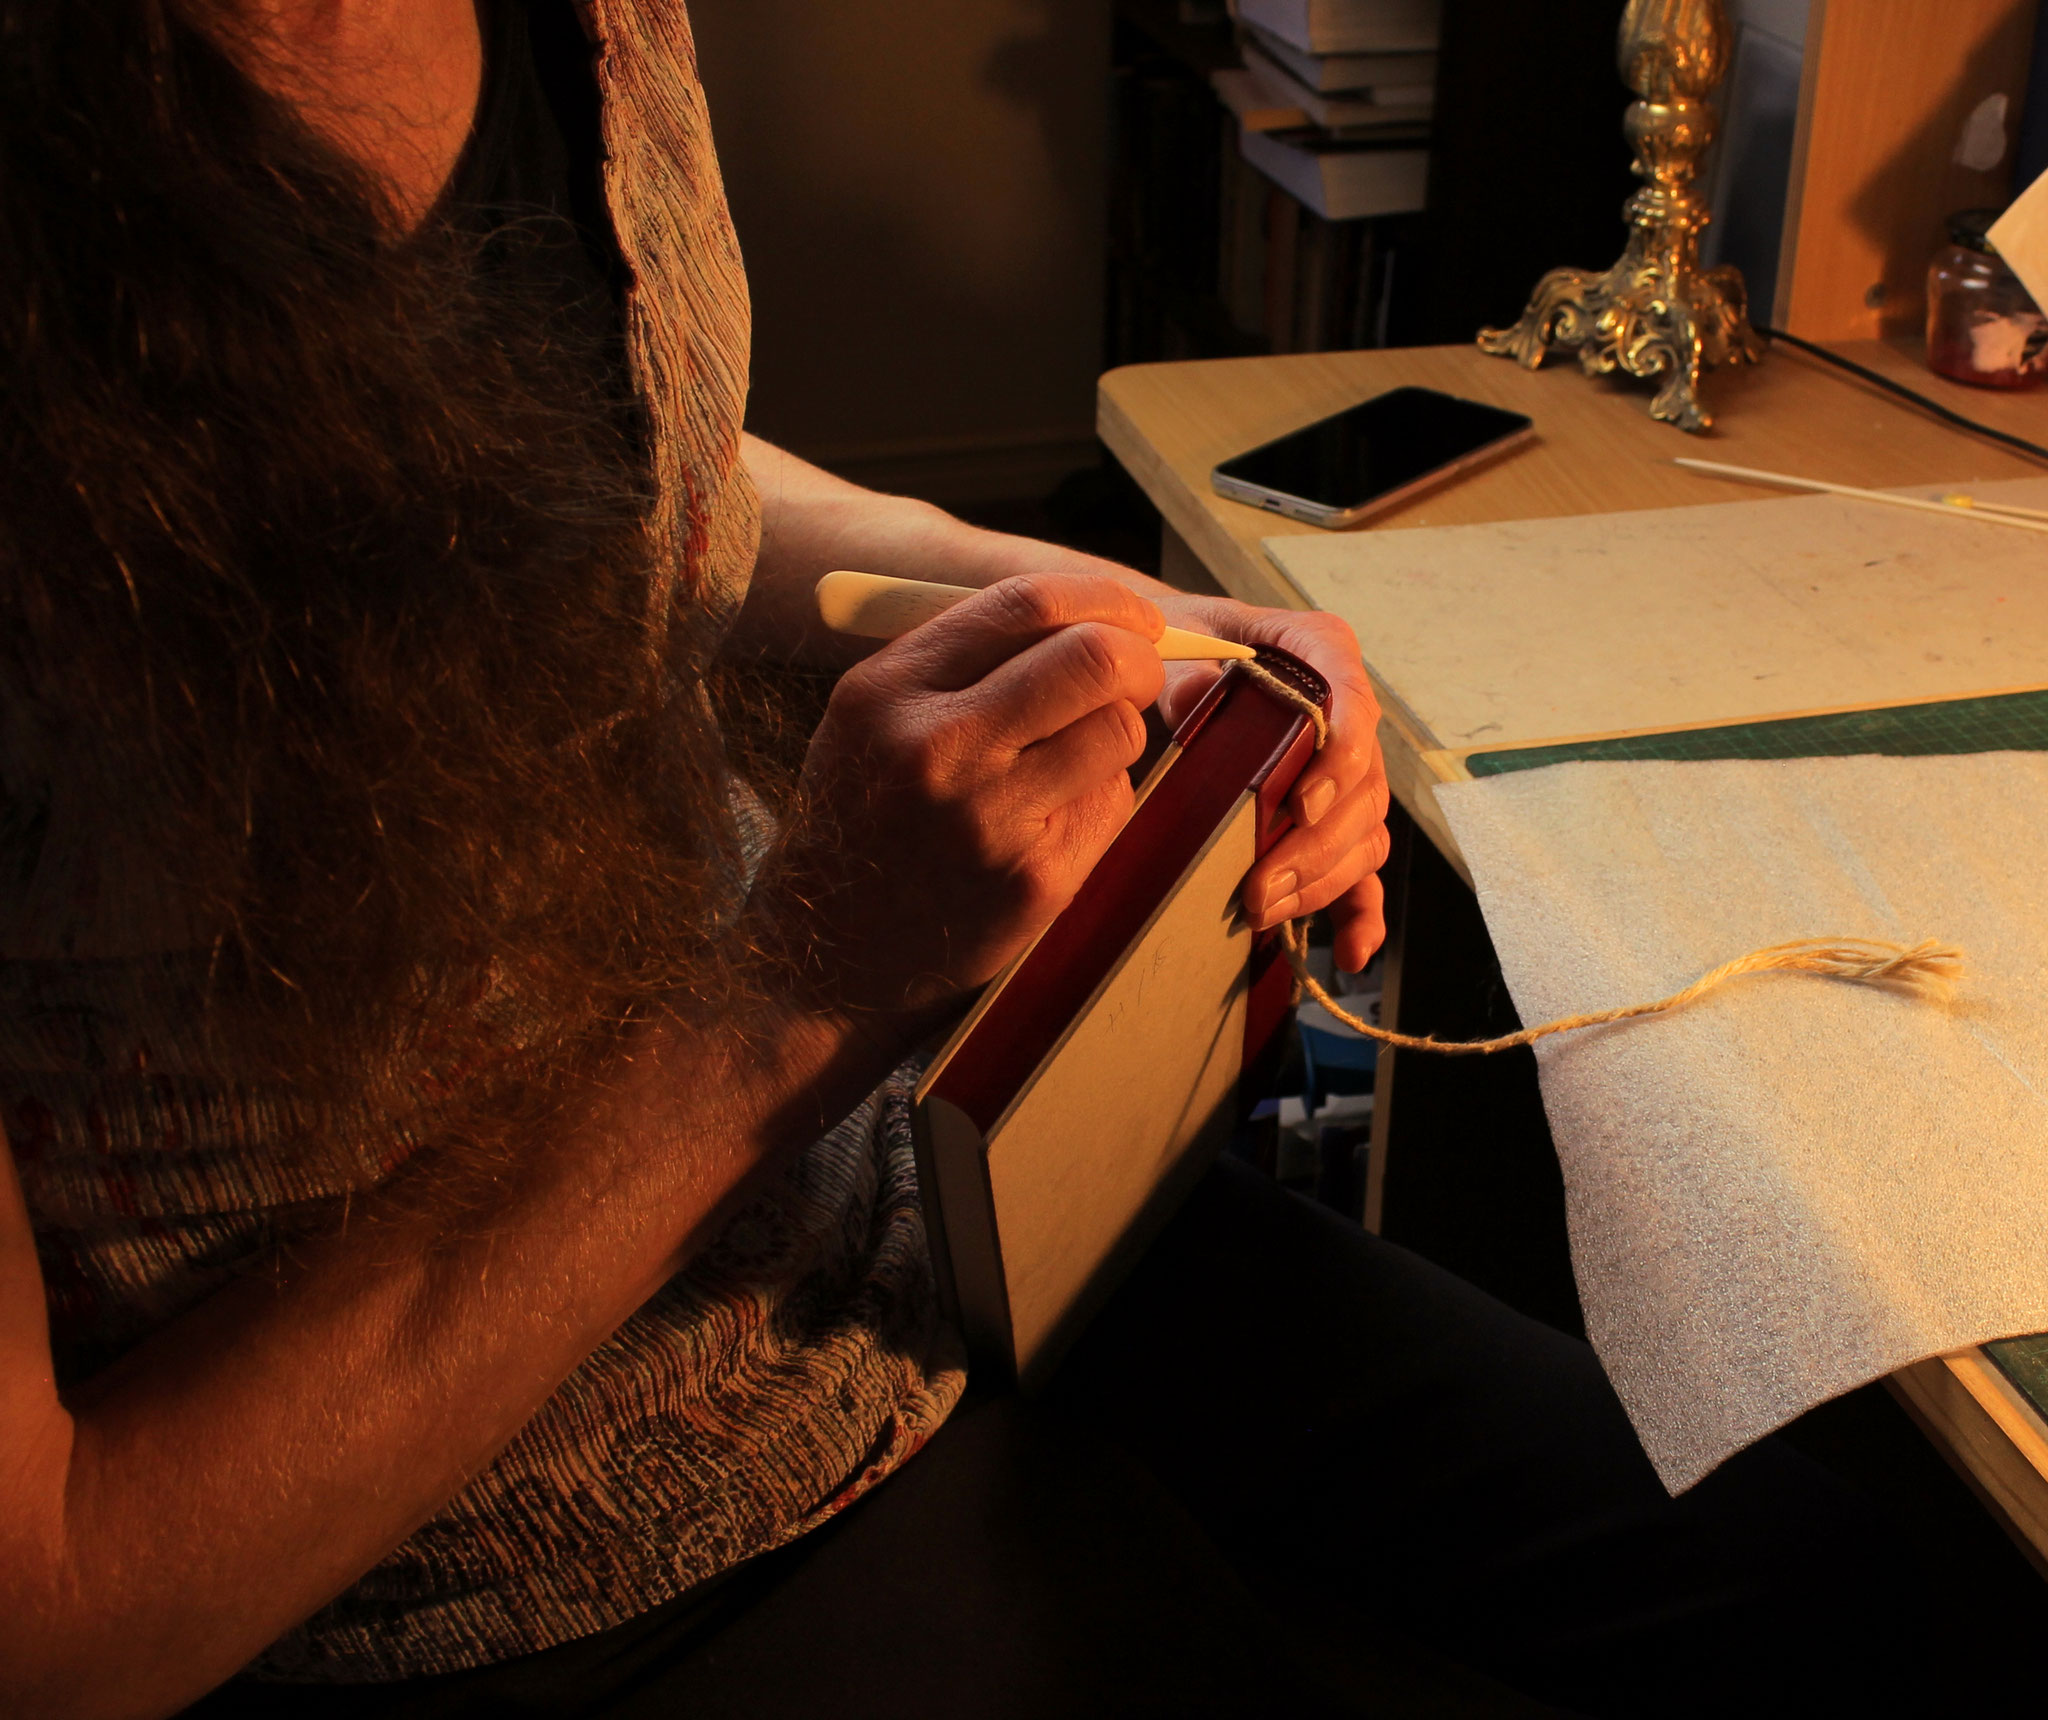
Days 15 & 16: Sewing Headbands
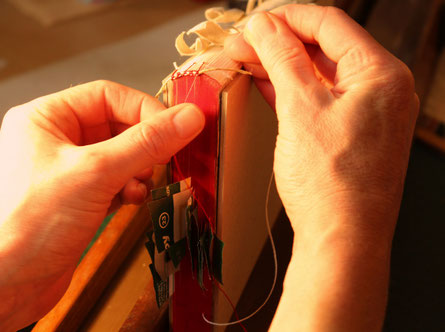
Like many other features in older books, headbands aren’t just decorative—they also serve a function. Have you ever pulled a book from the shelf by hooking your finger over the top of the spine? The headband reinforces this area, preventing you from tearing the spine material.
Many bookbinders today use stick-on headbands, which have been embroidered on a machine. Mine are hand-sewn in silk. Each pair takes around 40 minutes to sew. The core of each headband is made from binding hemp infused with paste. The paper strips you’ll see poking out of the book are there to flag the middle of each folded paper section. This is so I know where to poke my needle when I need to fasten the sewing at the spine.
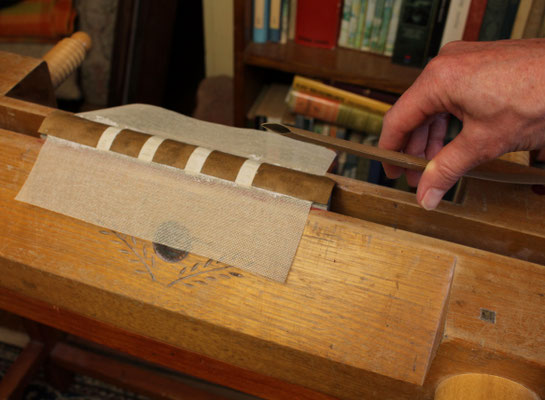
Days 17 & 18: Spine Linings
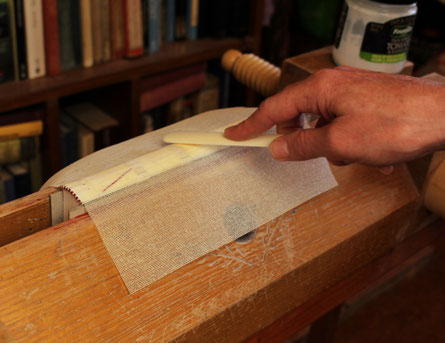
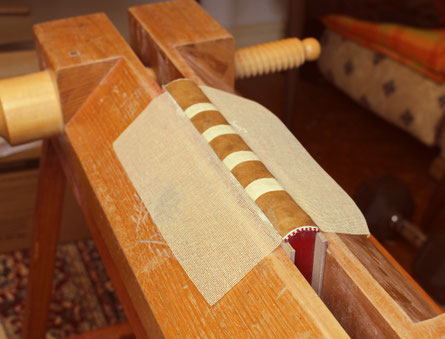
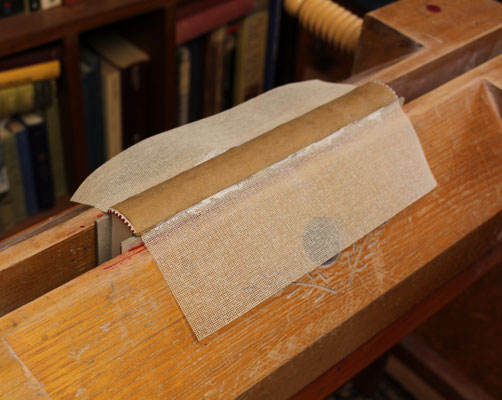
Have you ever wondered what’s underneath those leather and cloth spines? Here’s a peek.
In bookbinding, ‘Mull’ is an open-weave cotton material. This is glued down first and will form the connecting material between the book and its covers. Over this: craft paper, which fills in the hollows between the tapes and leaves a smooth, rounded finish.
I have two versions of the book and each has a different spine construction. My Red Books have the leather stuck directly onto the spine. Because my Blue Books are covered with the stiffer material, a cardboard ‘hollow’ is stuck down first, which lifts the buckram from the spine and allows for easy opening.
I have two versions of the book and each has a different spine construction. My Red Books have the leather stuck directly onto the spine. Because my Blue Books are covered with the stiffer material, a cardboard ‘hollow’ is stuck down first, which lifts the buckram from the spine and allows for easy opening.
Days 19 & 20: Flanges
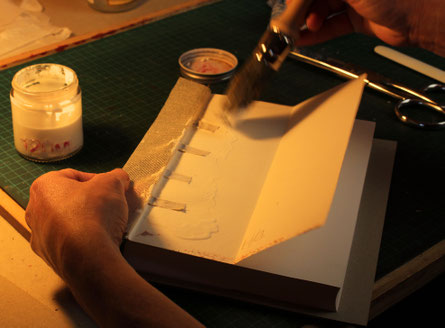
Did you know that some books have wings? Well…not wings exactly—flanges.
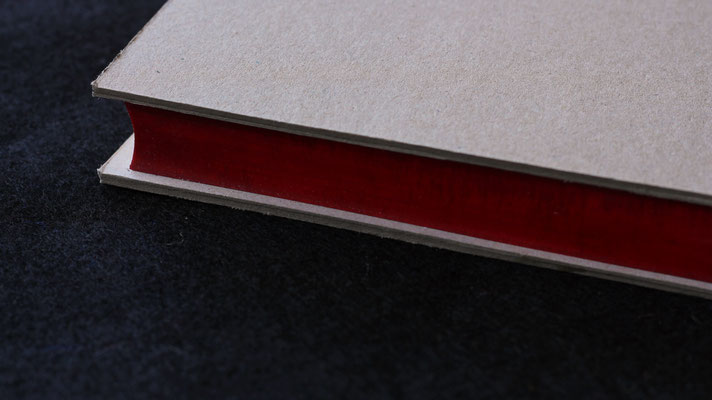
When I was deciding on the type of binding I wanted for my books, one of my biggest priorities was durability. The library style binding was designed for books that would see heavy use, and one of its features is that the front covers are formed from two pieces of cardboard glued together. Inserted between these boards are the flanges, formed from tapes, mull, and the outer sheets of the book itself—all origamied up into neat little wings.
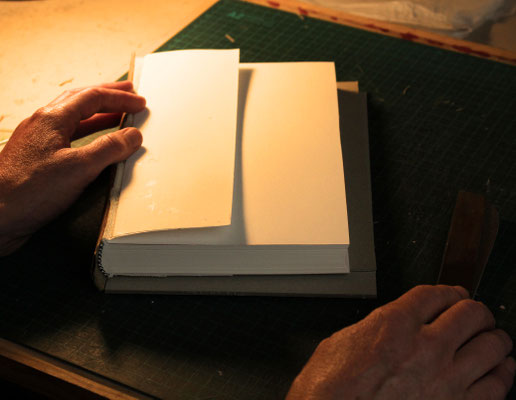

In the last photo you’ll see that I’ve cut a strip from the outside sheet all the way around. Some of the red marbled paper is peeking through. This is so that, when I glue the outside marbled sheet down inside the cover board, you won’t see it when the book is closed.
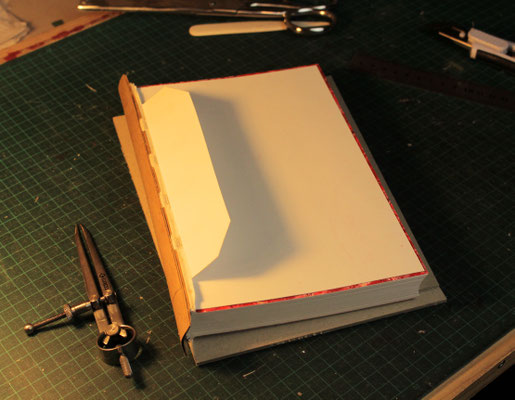
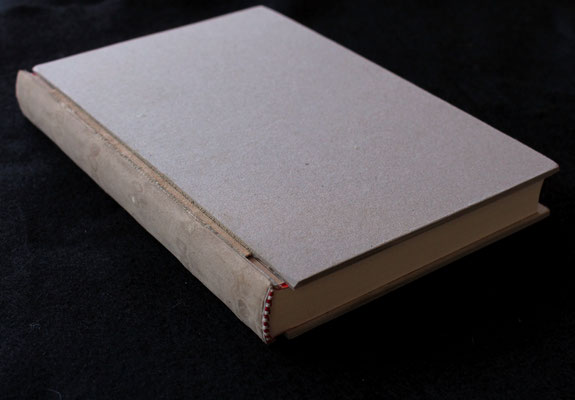
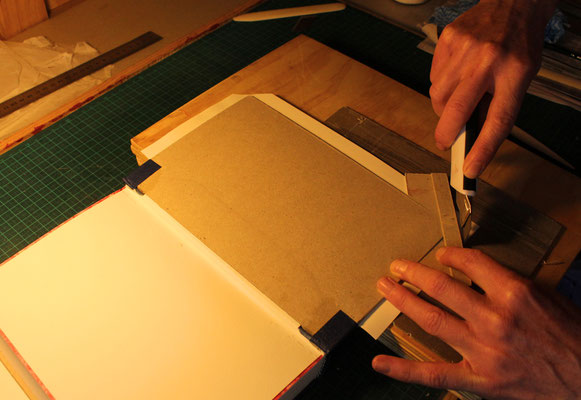
Days 21 & 22: Setting the Grooves & Attaching Boards
Finally!—it’s time to attach book covers...
I’m always relieved to get to this point for two reasons: firstly, because the pages will now be protected by the boards, so I can stop being a helicopter mum; and secondly, because I’ll soon have an actual, working book.
I use a cardboard jig because the boards need to be attached at a certain distance from the spine. This is called ‘setting the grooves’ and allows space for the covering material at the joint. After I’ve worked out (and marked) the boards’ position, I glue between the split boards, then insert the flange. Next, the book goes in the press for an hour.
Days 23 & 24: Cutting Cover Boards & Sanding
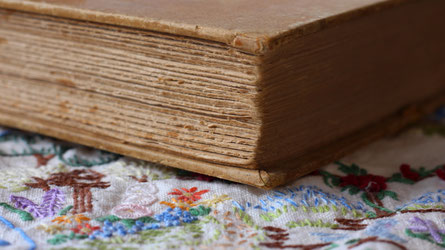
Here’s one of my books. It’s a favourite, both inside and out—Walter de la Mare’s The Connoisseur and Other Stories, published in 1926. As you can see, it’s well-loved. I always used to wonder how the cover boards came to be so beautifully rounded, so that there isn’t a single sharp surface and it snuggles in the hand.
The answer isn’t that complicated. It’s sandpaper.
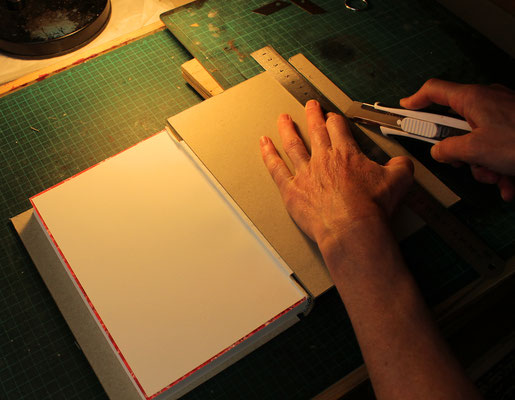
I have to admit, trimming down cover boards isn’t my favourite part of the process. It’s hard on the wrists, and it can take a lot of squinting and measuring to get them square. Even then, they look rough. But after the sandpaper has come out, the book becomes pleasing to the eye and the touch.
Days 25 & 26: Paring Leather
Before the leather can be stuck to the spine it needs thinning in the areas where its thickness would create lumps and bumps. I use an English paring knife on the long edge where the cover paper will overlap. On the head and tail I use a nifty German paring device called a Scharffix.

The leather I use is responsibly-sourced kangaroo skin which comes under the PURE label (processed under rigorous environmental standards). Kangaroo is excellent for bookbinding because it’s strong, lightweight and durable.
Days 27 & 28: Covering Spines
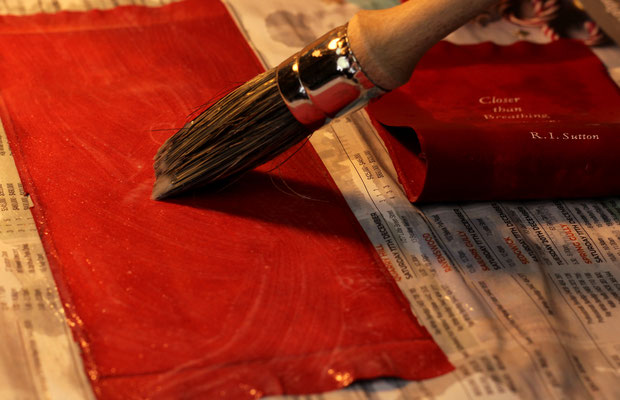
Now the spine coverings go on the books…
The front side of the leather is brushed with water, while paste is applied to the back. Unless there’s consistent penetration of moisture, the leather will stain.

When the spine covering is properly aligned, some carefully-positioned knitting needles in the book press help to adhere the leather at the joint.
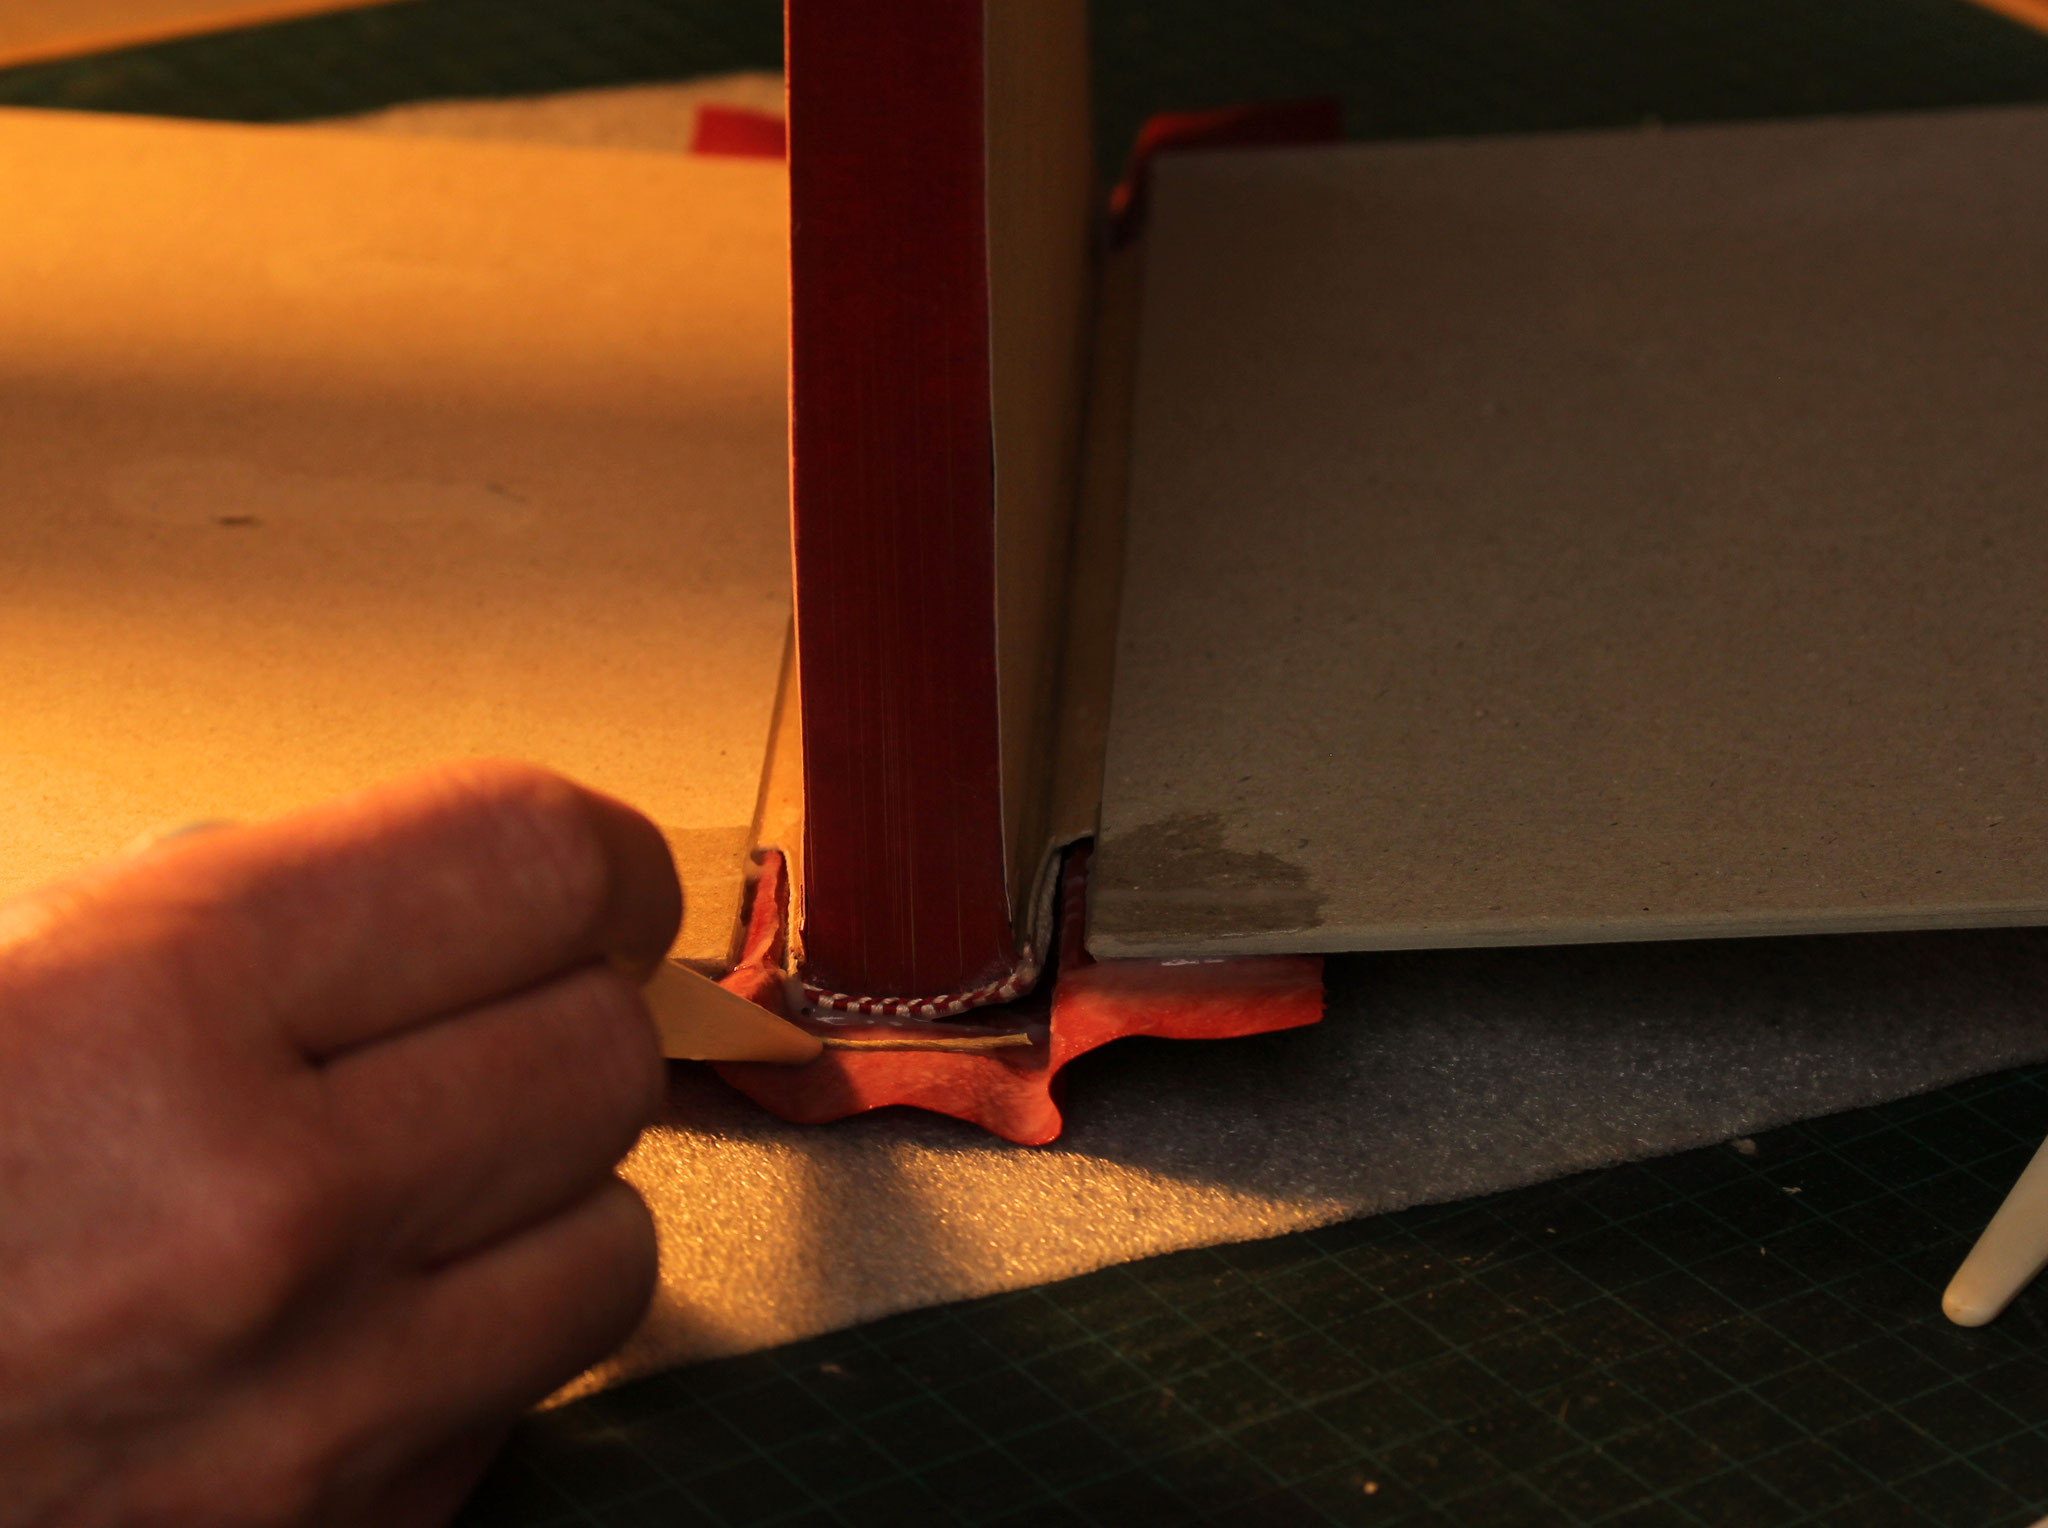
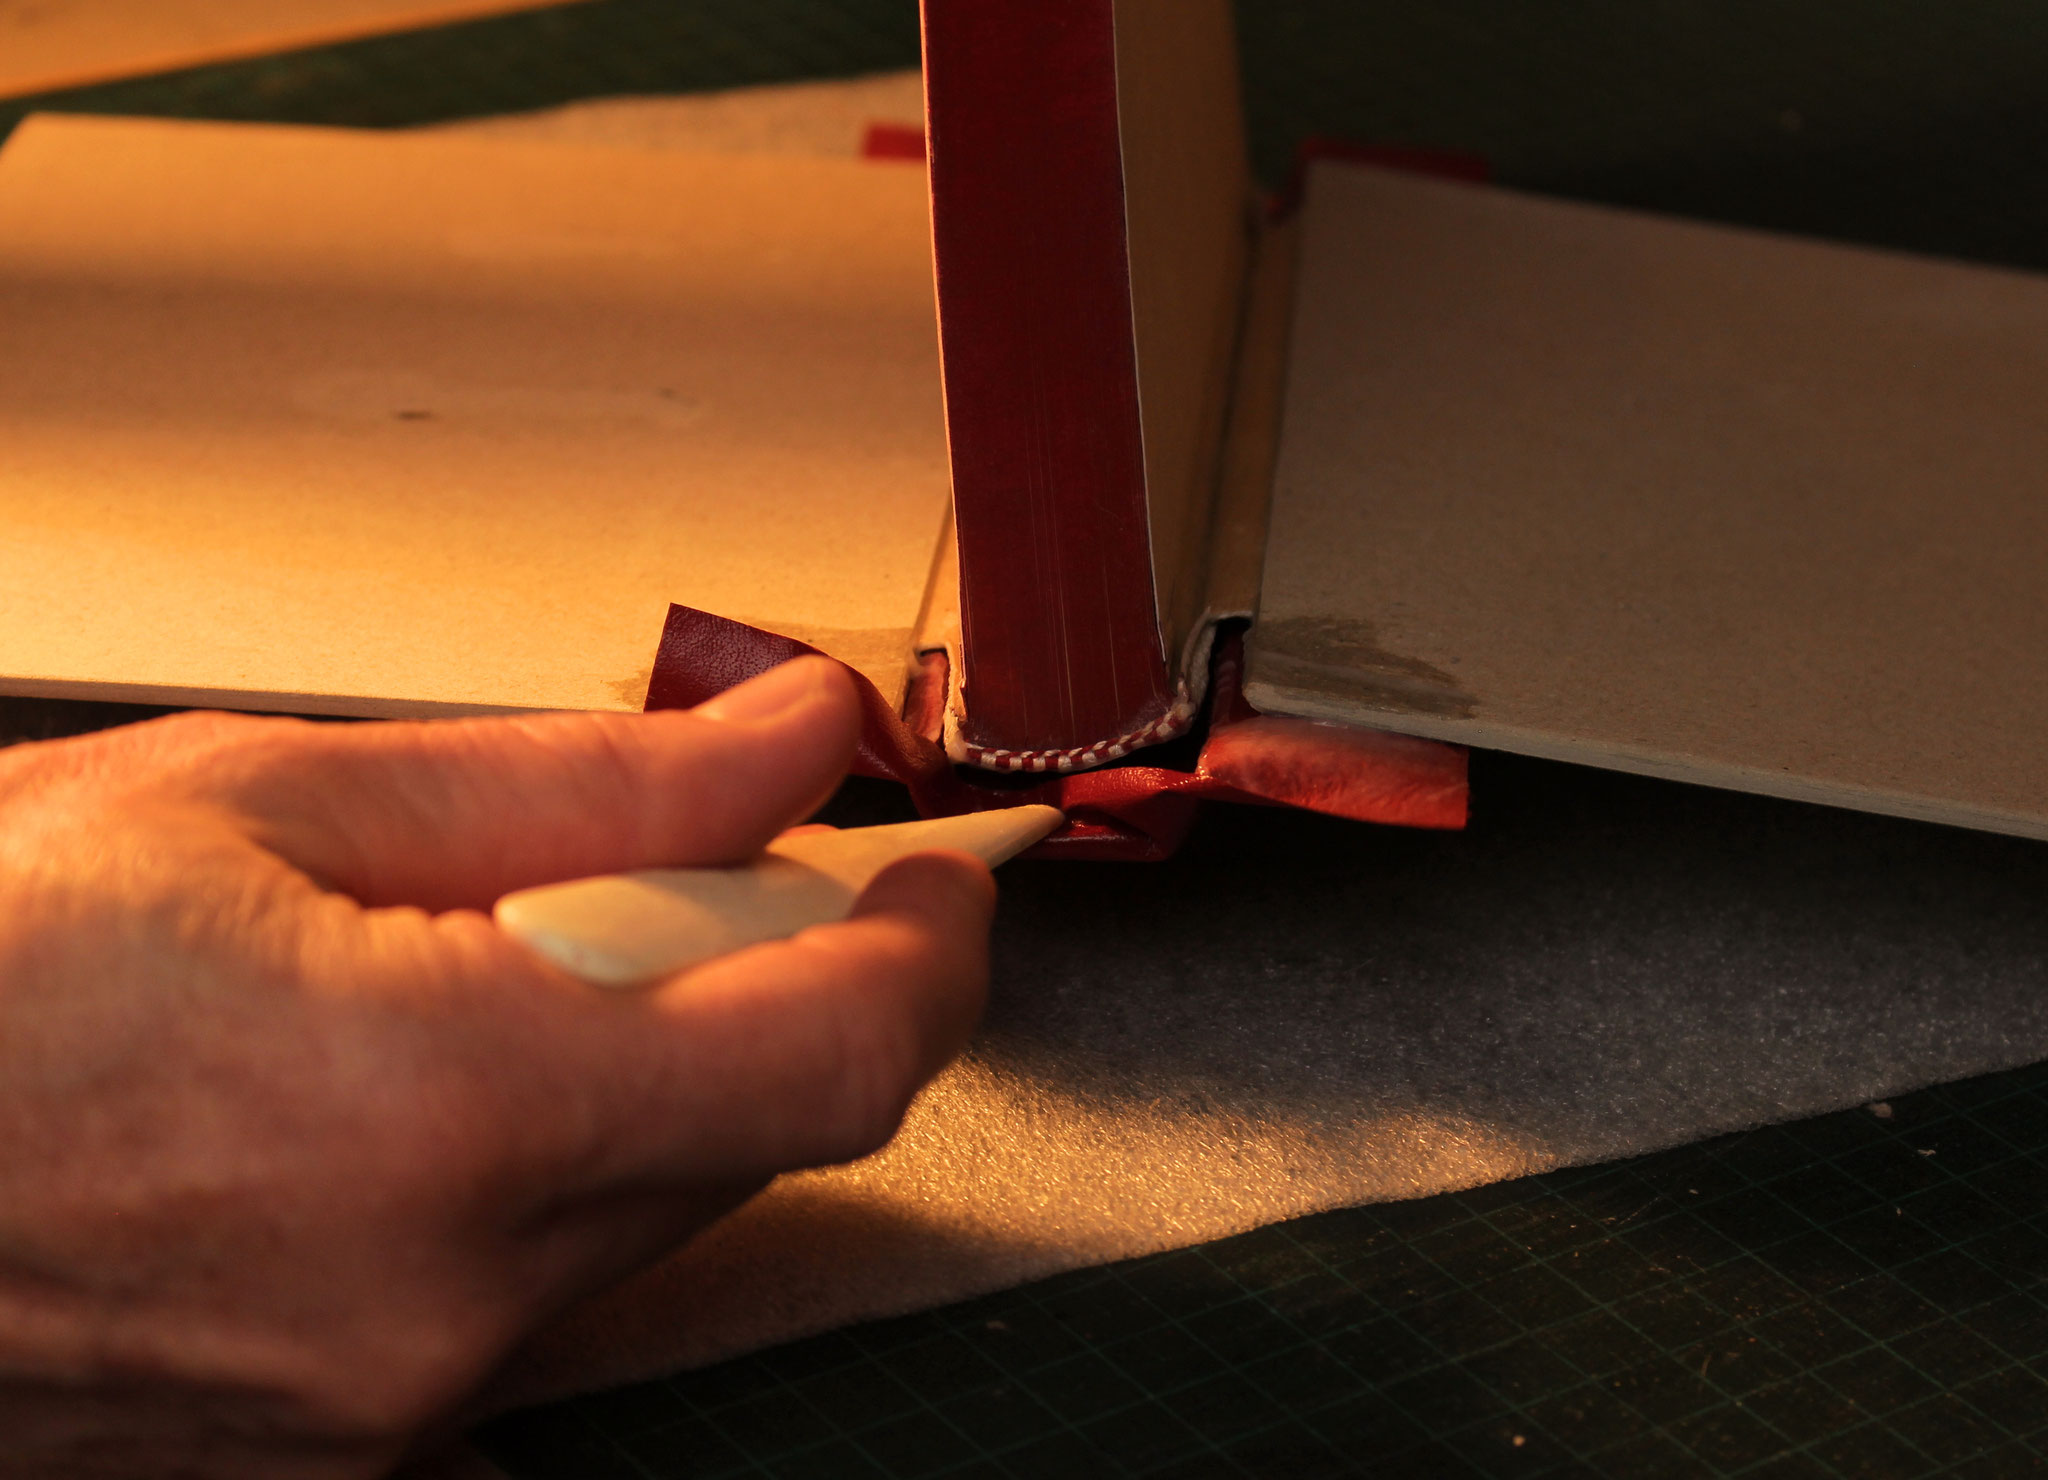
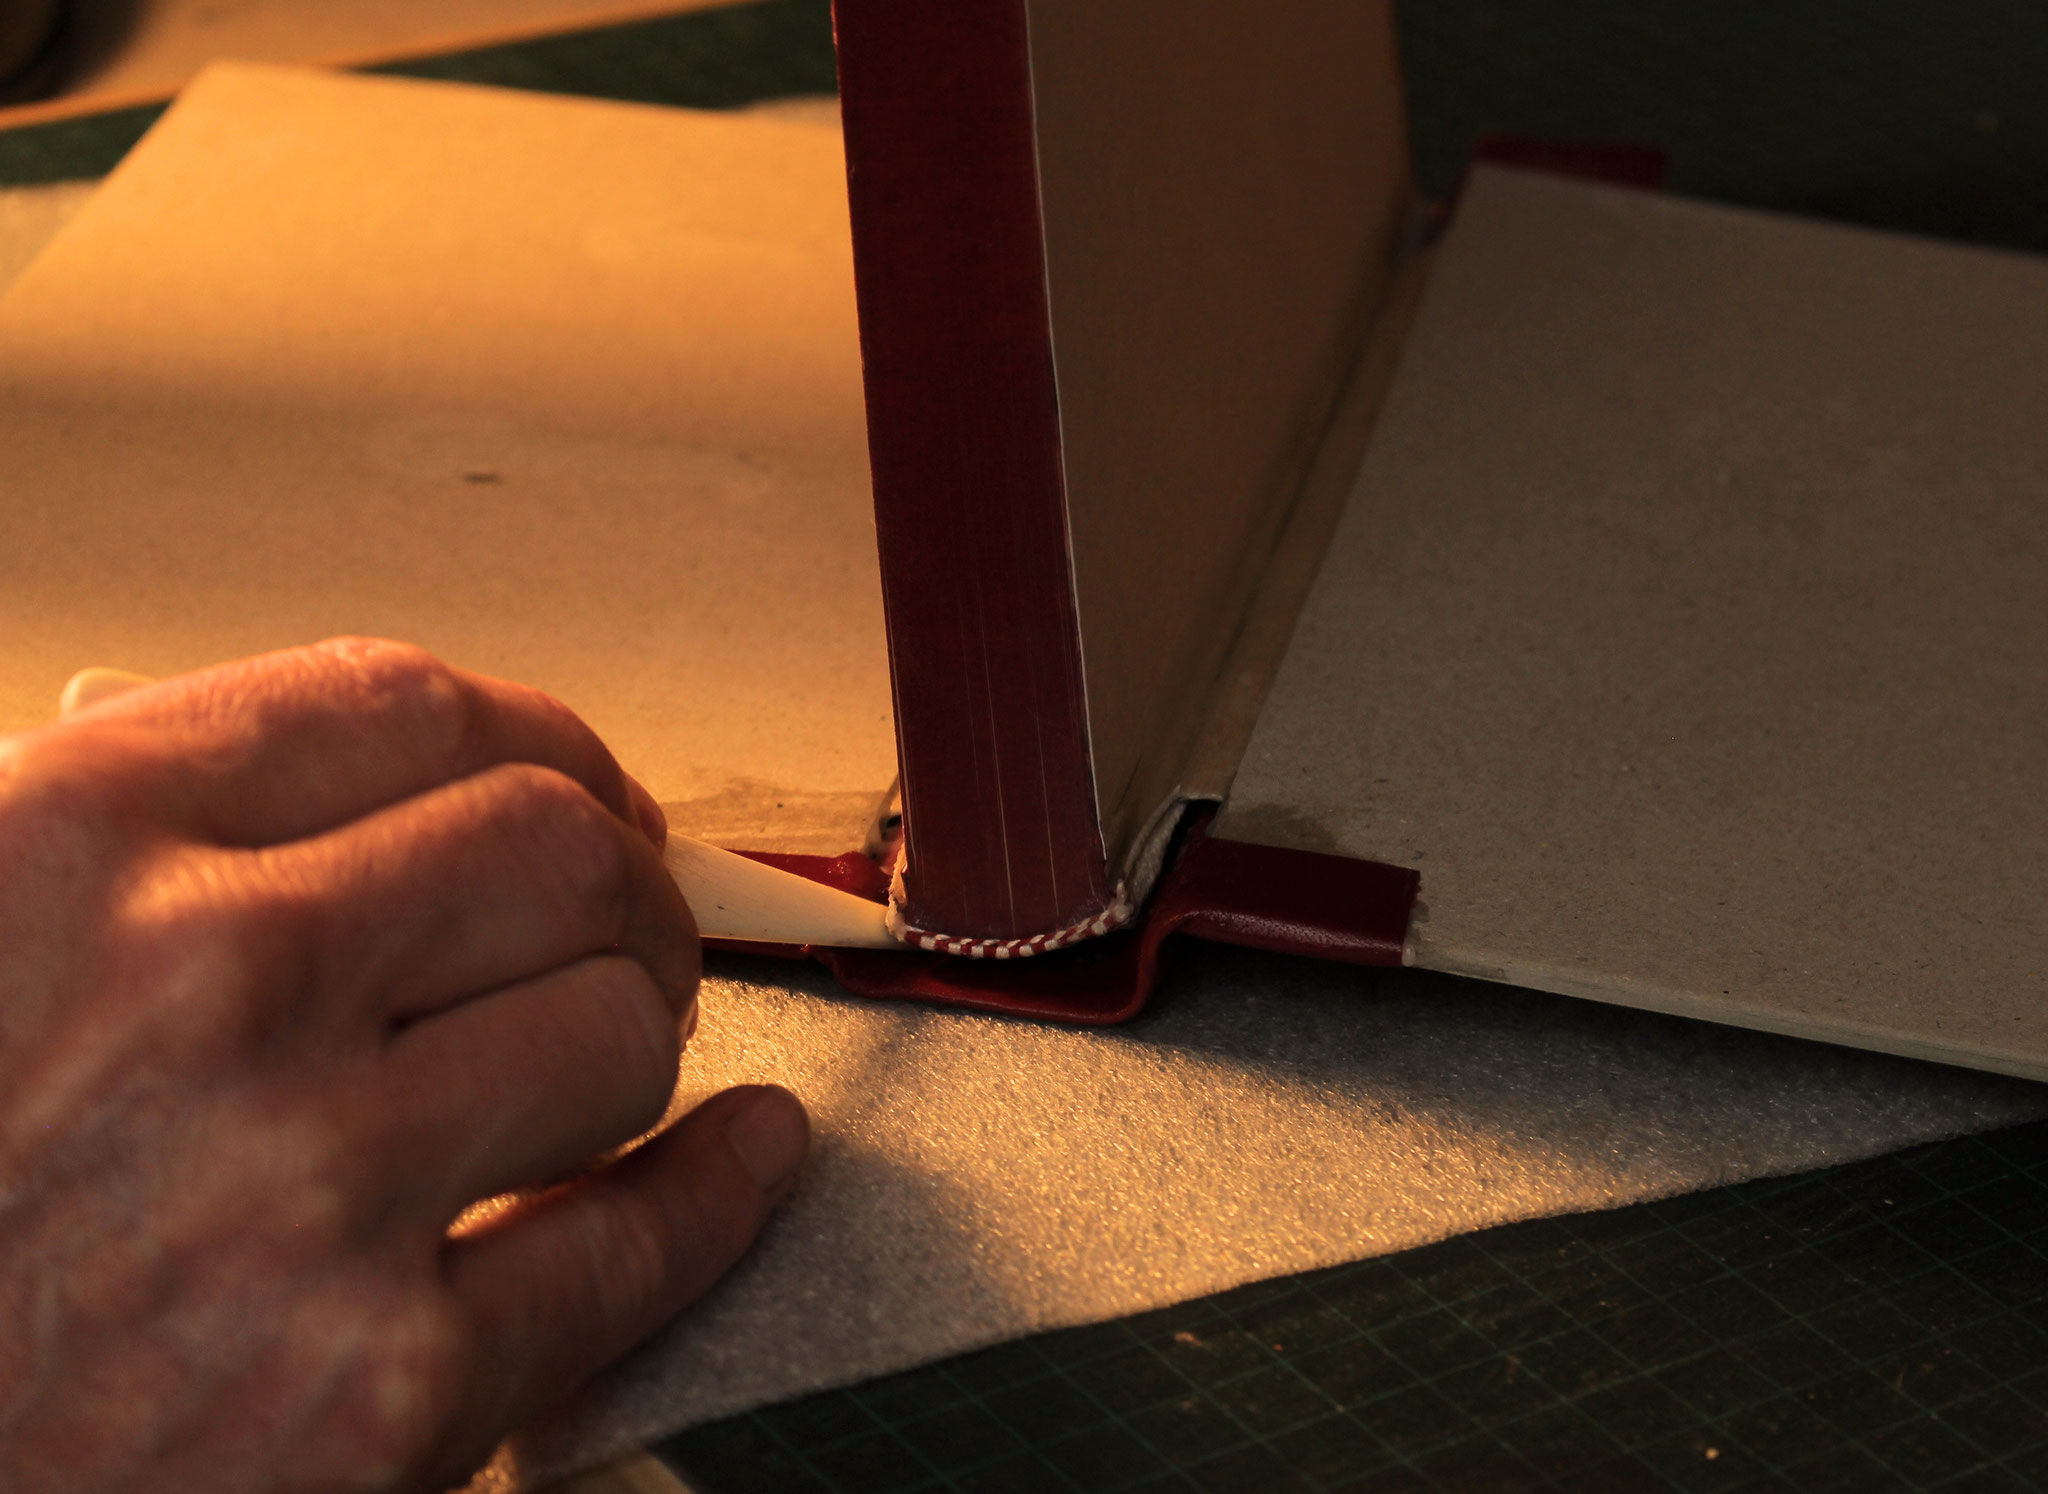
Then, a piece of hemp is inserted. This will form the ‘headcap’: a little leather ridge over the sewn head band. The head and tail flaps are levered under the covering and smoothed down with a bone folder.
The last photo is of me ‘forming the headcap’. While it’s still wet, the leather (or buckram) is molded at the top and bottom of the book into a pleasing shape.


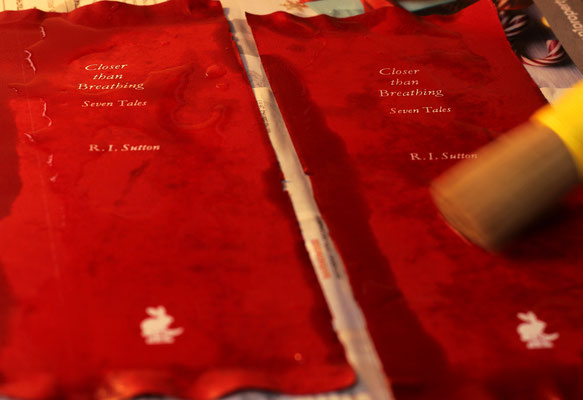
Days 29 to 32: Applying Paper Sides
Unfortunately, I haven’t been successful in my challenge to finish 23 books in 30 days. But I’m not far off, and I hope you’ll continue to follow my progress nevertheless!

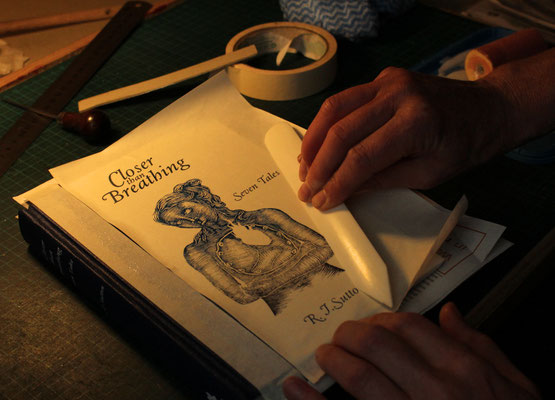
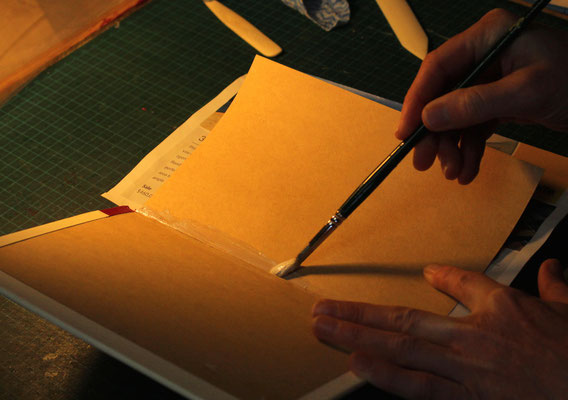
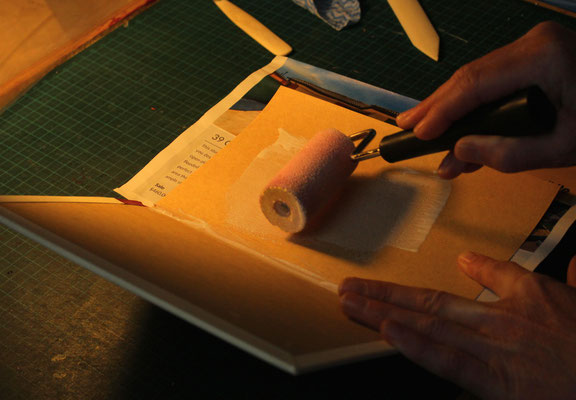
Two paper covers are glued to each board. The first provides a clean backdrop for the transparent printed paper that will go over the top, as well as levelling out the difference in height between the boards and the spine material.
Each paper side needs to be glued down perfectly smooth, and positioned just right. I apply glue with a roller, using masking tape for alignment. Afterwards, the corners are cut using a jig and the loose paper is turned over the boards. You can see in the last photo that, although the books look finished from the front, the inside covers are bare.

Days 33 & 34: Gluing the Paste-Downs
Finally, my last—and most nerve-racking—bookbinding step. This is where I glue the outer sheets of the book (the endpapers) to the inside covers. If I get it wrong, all the work I’ve done up to
this point is wasted and the book is ruined.
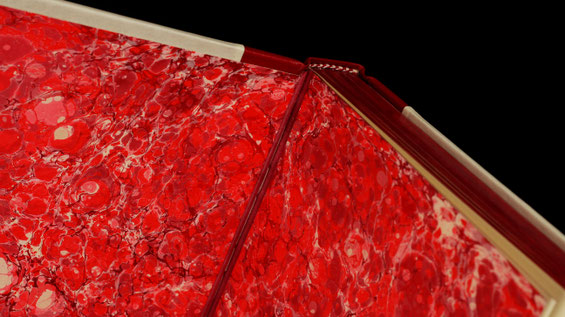
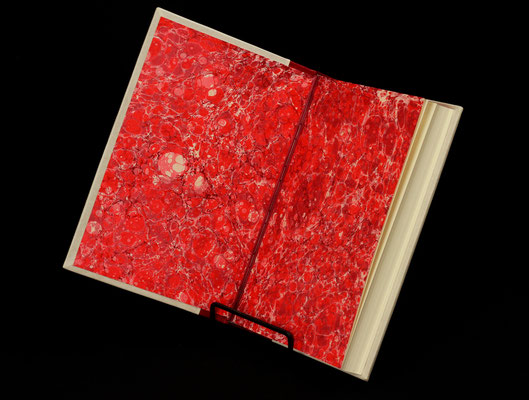
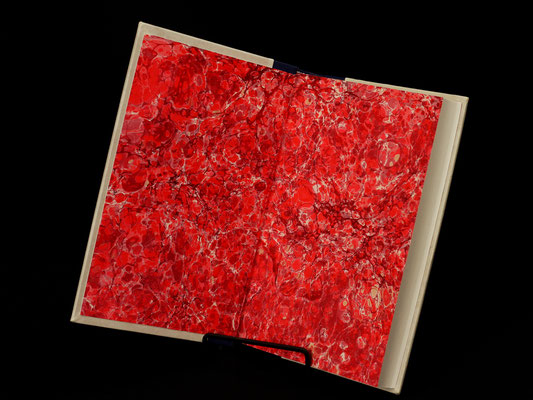
My endpapers took about five months to make. Each design is unique and was created using a technique called ‘paper marbling’. The marbled sheets were then cut, folded and hinged so that they could be sewn into the book, and also form part of the flange that attaches the boards.

It took me many failed attempts to work out how to glue the paste-downs on my Red Books. Every time I stuck them to the inside covers, they formed big ugly crease near the hinge. Eventually I worked out that I need to glue quickly, flatten them down with a piece of sheet metal, and get them in the book press as fast as possible. Gluing paste-downs is always an adrenaline rush!
Write a comment
Jen Heinrich (Tuesday, 07 February 2023 03:36)
� outrageous - I'm exhausted just reading about it!!
Beck Sutton (Tuesday, 07 February 2023 03:39)
Yes, Jen! I'm binding in my sleep too, so not much rest ;P
Lew (Monday, 01 May 2023 21:49)
Magnificent! Thank you for bringing us along in your process of making. Your books are absolutely beautiful. Congratulations!
Beck Sutton (Tuesday, 02 May 2023 20:50)
Lew, thanks so much for your interest & kind words. It's been a pleasure to share the journey! All the very best (: